Wednesday, May 25, 2016

#1 Dad Card - SBC Pattern Challenge

   Today's monthly pattern challenge over at Scrapbook Challenges is focus on the classic graph pattern. 


   When I think of the pattern I always think of it as the perfect pattern for any kind of masculine project. 
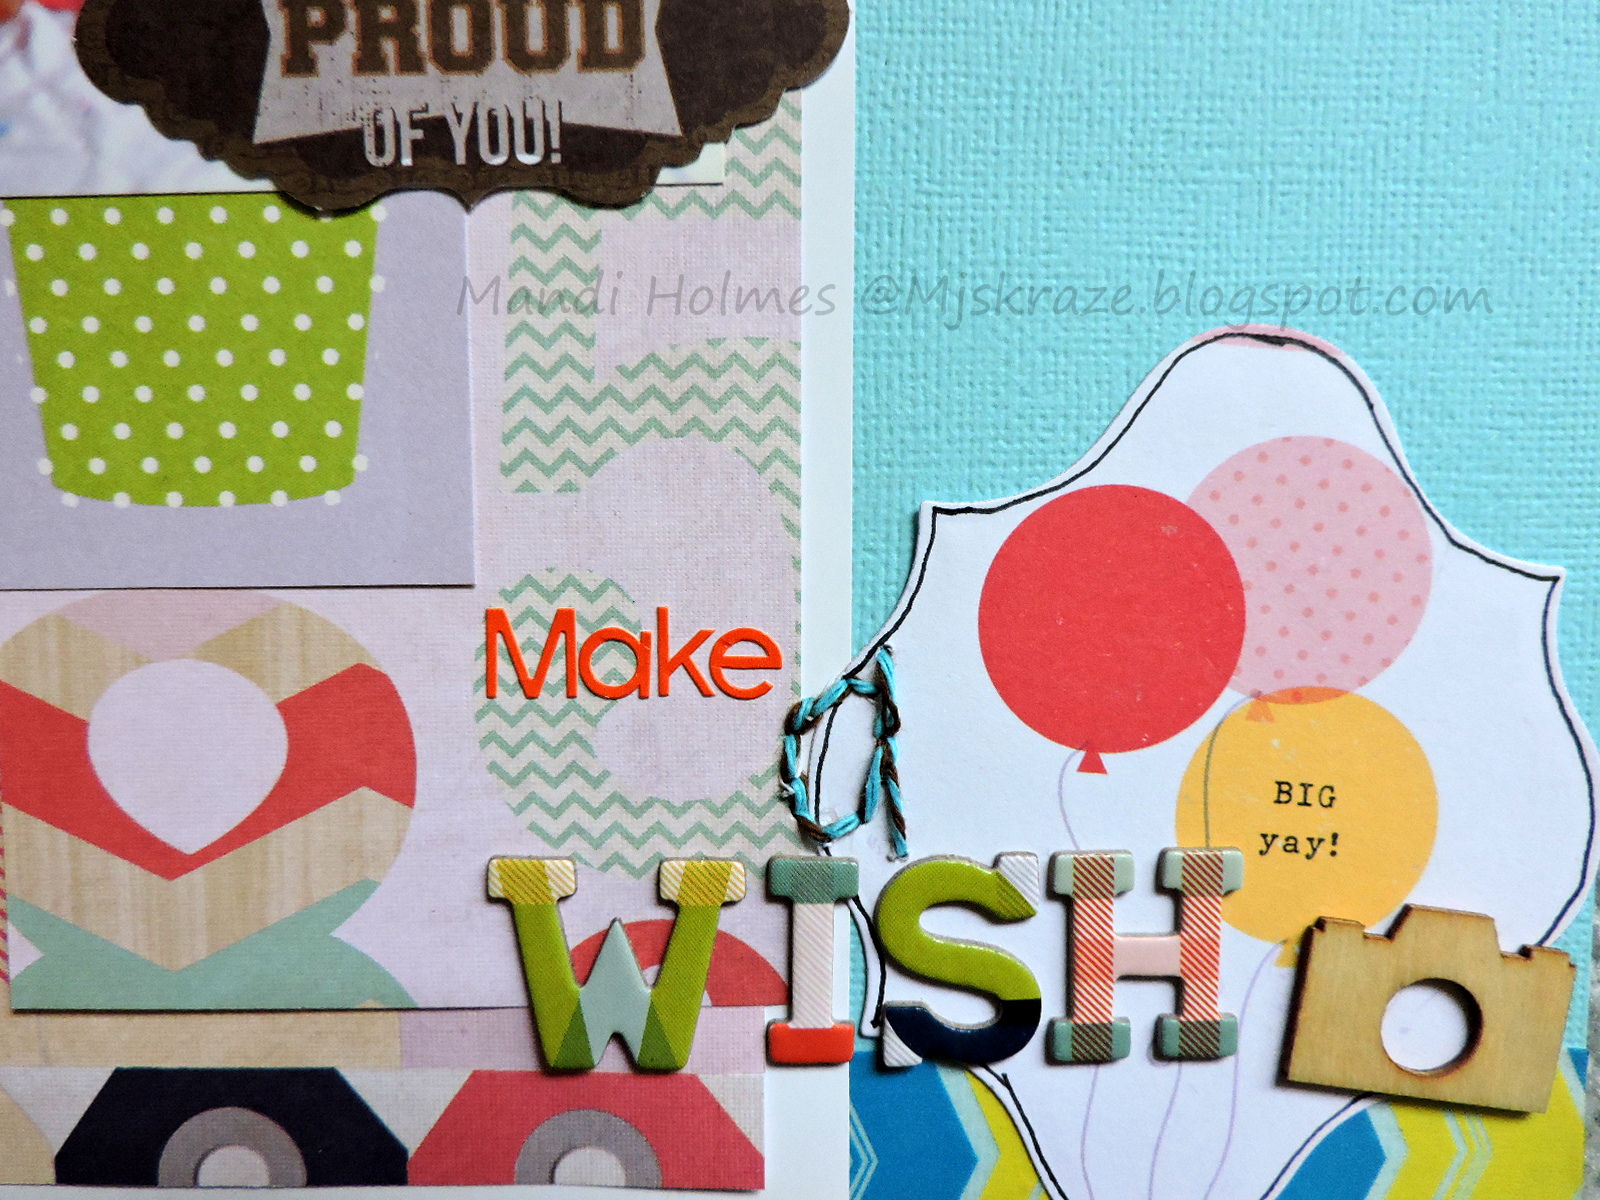
Supplies: cardstock (Bazzill Basics and the Paper Studio), pattern paper (My Mind's Eye and Simple Stories), doily (Doodlebug Designs), electronic die cutter, cartridge and software (Cricut), manual die cutter (Spellbinders), manual die (Spellbinders) stamps (?), ink (Umbrella Crafts and Momento) and punches (EK Success) 

   Here are a few close ups. This card is also listed on my Etsy shop. 


Don't forget to link up your creations on the Mr. Linky at Scrapbook Challenges to have a chance at winning this month's prize.

Monday, May 23, 2016

Always Together - SBC #484

   Today's sketch #484 reveal over at Scrapbook Challenges is one that is great to show of that one very special moment you happen to capture. 

   I ended up doing a page about my parents. I entitled it "Always Together" because that is how these two are. The only time they spent a day apart was when my dad had to take me done to Ohio for eye surgeries.
Supplies: cardstock (Die Cuts With a View, Bazzill Basics and The Paper Studio), pattern paper (Prima, Crate Paper and Studio Calico), washi tape (Little B and The Paper Studio), sequins (Studio Calico), chipboard (Crate Paper), wood veneers (Crate Paper), enamel dots (DIY), stickers (American Crafts), electronic die cutter, cartridge,and software (Cricut).

   I for one hate finding the the perfect alphabets stickers for my titles and discover I don't have the right letters so on the word "Always" I had to use a "1" for an "L", combined a "U" and part of an "Z" to make the "Y",  and an upside down "5" for an "S". 
Don't forget to link up your creations on the Mr. Linky at Scrapbook Challenges to have a chance at winning this month's prize.

Friday, May 20, 2016

Top in 10 Minutes

   Sorry for the little break in the fashion series I am doing. Last week, i just forgot about writing it since I was working on an order and this week I have been sick but I am feeling better today so I felt like getting my blog some attention. 

   Today I am going to share how to take a simple knit fabric and turn it into a cute top that takes just a few minutes. 
   
   1. Take a 1 1/2 yd. of fabric and fold and half. Here is a diagram how it should look laid out. The top cut-out is the neck hole so you can make this as wide as you like if you want to wear it off the shoulder or not. In the bottom corner just round it off. 
   2. Measure your waist and divide in half and add 3 or more inches depend on who loose you want the top to be. If you want the opening of your shirt to be 30" but you have to cut that in half since you only need a flat measurement.  15" mark the stitching point at 7 1/2" from the center since 7 1/2" times two is 15" 


   That is i. In no time you have a cute top with flare sleeves. 

Wednesday, May 18, 2016

Birdy Thank You Card

   I love when the layout sketch turns into card challenge come around at Scrapbook Challenges. This month's theme is "Thank You". I am in need of these in my stash since that pile in super small. 
I ended up using sketch #398. 
 Supplies; cardstock (American Crafts and Bazzill Basics), pattern paper (Crate Paper), stickers (Carta Bella and Doodlebug Designs), manual die (Echo Park), washi tape (The Paper Studio), manual die cutter (Spellbinders) punches (EK Success and Fiskars).

   Here is a closer look at the cluster. I am loving the doily #3 die from Echo Park that I got as a birthday gift. This thing is going to be well loved so much that I wonder if I could overuse it to the point that it would break. I hope not. 


Monday, May 16, 2016

Hotel Antics - SBC 483

   It is time for the Monday reveal of sketch #483 from Scrapbook Challenges. I love the fun scatter of photos this sketch offers. 

   Here is my take on it. 
Supplies: cardstock (The Paper Studio), pattern paper (Cosmo Cricket and Canvas Corp. Brand Home Basics), stickers (Pink Paislee), chipboard (Basic Grey), electronic die cutter, cartridge and software (Cricut), journaling card (My Mind's Eye), punch (Me & My Big Ideas), mist (Tattered Angels)

   Here is a closer look. I left the journaling spot blank since I  need to get more information about these photos. 

   The chipboard shapes I used on this page are super old. they came from a card kit a friend sent to me for a prize.
Don't forget to link up your creations on the Mr. Linky at Scrapbook Challenges to have a chance at winning this month's prize.


Tuesday, May 10, 2016

Yummy Take Out.

   Last Thursday, a early National Scrapbook Day challenge was released over at Scrap Our Stash and The ScrapRoom blog's. They teamed up to create this very inspiring challenge. 

Sketch was done by a Steffanie Seiler of The ScrapRoom 
This was the stash list from Scrap Our Stash. 
The underling words are the ones I used on my layout.
                                                    S ~ Sequins, Staples, or Stickers
                                                    T ~ Tags, Tape, or Transparency
                                                    A ~ American Crafts, Ampersand(&), or Arrow
                                                    S ~ Stencil, Stick Pins, or Striped Print
                                                    H ~ Hashtag (#), Heart(s) or Hemp (cord)

Supplies: pattern paper (Basic Grey and Simple Stories), jounaling cards (Project Life and Simple Stories), chipboard (Pink Paislee and Studio Calico), stickers (Elle's Studio and American Crafts), die cuts (American Crafts and Simple Stories), twine (Bella Creationz), stitching template (American Crafts), pen (Project Life), wood veneer (American Crafts), sequins (Crate Paper).

   Here is a closer look. I love how the stitched number dresses up this box.
 I am loving the layer tag from Shimelle's True Stories collection. I even dressed it up more by adding foam adhesive behind the ampersand.
 Here is the journaling. I left if super simple since I am going to be doing a pocket page that goes along with this page. Right now, I am loving mixing those together for celebrations or whenever I have a lot of photos from the same day.


Today's World News - SBC 481

   Last Monday's sketch reveal for Scrapbook Challenges was sketch #481.

   Here is my take on it. I swapped the three smaller photos for on large one.
Supplies: cardstock (Die Cuts With a View and Bazzil Basics), pattern paper (Kaisercraft and Simple Stories), washi tape (7 Gypsies and Scothc Brand), stickers (Glitz Designs and American Crafts), chipboard (Studio Calico and Pink Paislee), rub-ons (Studio Calico), manual die (Echo Park Paper Co.), manual die cutter (Spellbinders) and pen (Project Life).

   The journaling for this page came from the captain that was printed on the back of the original photo that appeared in a New York paper back in 1945.  

   Since it was about a photo in a newspaper I thought this was the perfect title for this layout.

Don't forget to link up your creations on the Mr. Linky at Scrapbook Challenges to have a chance at winning this month's prize.

Monday, May 9, 2016

Make A Wish - SBC #482

   Hope everyone had a great weekend. I sure did on National Scrapbook Day and pampering my mother on Mother's Day. 

   This week's Scrapbook Challenges sketch reveal is #482. 
   
   I ended up scrapping only one photo for this birthday page of my brother from 10-ish years ago. 
Supplies: cardstock (American Crafts and Canvas Corp Brands), pattern paper (Fancy Pants Designs, Crate Paper, and American Crafts), stickers (American Crafts and Studio Calico), wood veneers (Basic Grey and Studio Calico), twine (Bella Creationz), stitching template (American Crafts), die cut (Kaisercraft), washi tape (My Mind's Eye), mist (Tattered Angels), pen (Project Life) and manual die (Spellbinders)

   Here is a close up look at the title cluster. 

Don't forget to link up your creations on the Mr. Linky at Scrapbook Challenges to have a chance at winning this month's prize.

Friday, May 6, 2016

Watch Him Grow - SBC #FBF 129

   Today's Flashback Friday sketch at Scrapbook Challenges is a very simple one that is super easy to change up for any style. 
   Here is my take on it. I scrapped photos of my brother that were taken at different times but he was wearing the same sweater. 
Supplies: cardstock (American Crafts and Bazzill Basics), pattern paper (Crate paper and American Crafts), chipboard (Crate Paper and Pink Paislee), stickers American Crafts), floss (DMC), stitching template (American Crafts), die cuts (American Crafts), electronic die cutter, cartridge and software (Cricut) and Glossy Accents (Ranger).
   HE are a few close-ups. I decided to stitch "grow" in embroidery floss since it was easier to thread the needle than the bakers twine, which I knew was never going to happen with my vision changing. 
   On the white clouds I applied glossy accents to them to create some interest.

Don't forget to link up your creations on the Mr. Linky at Scrapbook Challenges to have a chance at winning this month's prize.

Thursday, May 5, 2016

Suede Tassels

   I can't seen to head to a store or look at the TV without seeing the suede and tassel trends. Since this is such a trendy thing and it doesn't look like it will leaving anytime soon I thought I could do a simple and super affordable way to incorporate it in my fashion. 

   I ended up making a suede tassel to jazz up a 100" stainless steel necklace I have had for years. 
 
   All you need:
 5" of suede fringe trim that you buy in the sewing department,
11" of 18 gauge wire (I used aluminum)
jump rings
needle-nose pliers
glue

 Step 1. Roll the trim into a tight roll like this and glue the end in place. I also added glue to the top of the coil to give it extra insurance that it wouldn't come undone.

 Step 2. Close to the end wrap the wire around the pliers two to three times this created the bail for the tassel

 Step 3. Wedge the tassel in between the bail and with the long end of the wire wrap the it around the top tightly. Make sure to cover up the short wire, this will keep the tassel secure.

Step 4. Add your jump ring or rings. I added one for the necklace and two for the purse charm.

Here is what it looks like on my purse.