Tuesday, November 10, 2015

Documenting the Lunar Eclipse - SBC #FBF

   Scrapbook Challenges Flashback Friday sketch is based on sketch that was used for the 2014 design team call.
   Something about this sketch made me want to use a few of the many photos I took of the blood moon 
Supplies: cardstock (The Paper Studio), pattern paper (American Crafts, Fancy Pants Designs and Studio Calico), punches (We R Memory Keepers and Fiskars), stickers (October Afternoon and American Crafts), stamps (American Crafts, Glitz Design and K & Co.), flair (Basic Grey), marker (Faber-Castell), washi tape (My Mind's Eye), diy enamel dots and electronic die cutter, cartridge and software (Cricut)

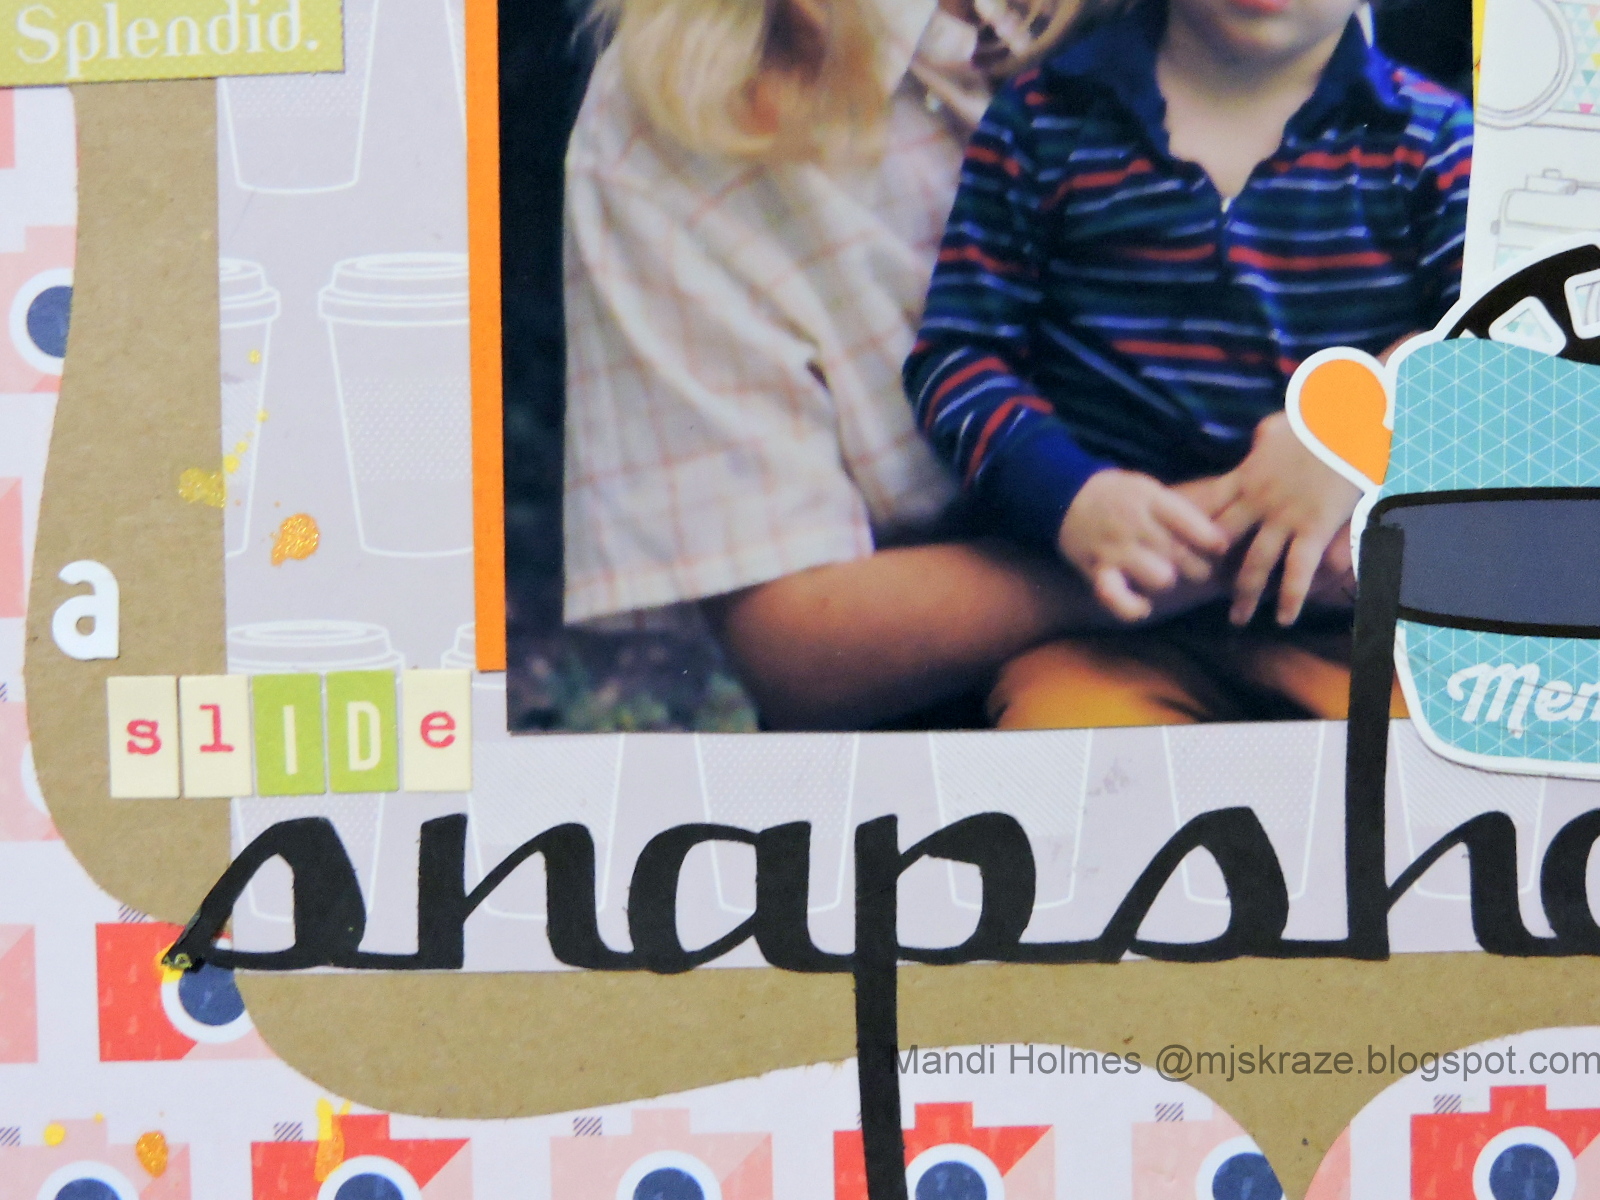
   Here is a close-up on the journaling. 
  To create the tab on the on the paper folder, I used the envelope punch board.


Monday, November 9, 2015

Which Bone? - SBC #458

   It is Monday, and that means it is time to do my layout reveal for the latest sketch from Scrapbook Challenges.
Sketch #458
   I scaled this sketch done to work on an 8x8 page. 
Supplies: cardstock (American Crafts, The Paper Studio and Die Cuts With a View), pattern paper (Die Cuts With a View and Crate Paper),  stickers (American Crafts, Elle's Studio, October Afternoon and Jillibean Soup), tag (Elle's Studio), washi tape (My Mind's Eye), doily (Doodlebug), sequins (Fancy Pants Designs), sewing machine and thread

   Since the photos on this page were taken on Independence Day I decided to keep the color scheme on this page red, white and blue even though the story has nothing to do with the holiday. 

Here is a little tip on those cute little label stickers from Jillibean Soup. Make sure your journaling is written on them before adhering to the page. I made the mistake of adding not enough labels to the page and I had to move them around to get the extra tag in the right spot. This error cause me to ruin some of the labels as I removed from the page and it also ripped some of the pattern paper. So user beware: the adhesive on those labels are sticky. 


Tuesday, October 27, 2015

Fall Mood Challenge @ SBC

   I am not one who is drawn too mood boards. I always find myself digging deep into my stash just to find that perfect color that is depicted in the board. However, this month's challenge over at Scrapbook Challenges spoke to me and I knew I had to do it.
  Here is how it inspired me. 

Supplies: cardstock (The Paper Studio and American Crafts), pattern paper (The Robin's Nest, Echo Park and Bazzil Basics), washi tape (Scotch Brand and We R Memory Keepers), flair (Basic Grey), doily (Doodlebug Design), stamps (Karen Foster), ink (Momento), embossing folder (Tim Holtz), embossing machine (Sizzix), journaling cards (Project Life), markers (Spectrum Noir), paint (Smooch), trim (?), pen (Project Life) and electronic die cutter, cartridge and software (Cricut).

   Of course, I found a mood board I loved and I had to search for a photo to use. I ended up using a week in the life photo I took a few month's ago. I journaled about my favorite fall things, apples and pumpkins. 


Monday, October 26, 2015

Owl Have a Treat! or Trick - sbc #456

   Thanks for dropping by. Today, I am going to share a layout I created for the latest sketch reveal over at Scrapbook Challenges. It also features products from the Canvas Corp Brands family.
  The sketch #456 is a easy sketch to change around to fit the number of photos you are planning to use.
I
Supplies: pattern paper (7 Gypsies and Canvas Corp Home Basic), cardstock (Canvas Corp Home Basic), tissue tape (7 Gypsies), doily (Doodlebug Design), twine (Timeless Twine), diecuts (7 Gypsies), mist (Tattered Angels),  stitching template  (American Crafts), embossing folder (Moment) and electronic die cutter, cartridge and software (Cricut).

Here are a few close-ups. 

   I ran the title word through the embossing machine/ I fast way to add interest to a flat iece of cardstock. 

Monday, October 12, 2015

I am Back - SBC

    I am back from the computer death. Turns out the main board went bad so a new computer was needed. All I can say is I am glad to be back and there is no better way to kick off the return than sharing the first sketch in the new term from Scrapbook Challenges. Also if you head over to SBC's blog you will see a brand new look site. 
   Since my little break from the team I found myself rarely scrapping so I thought I was going to be a little rusty when it came to work on this week's assignment. However, that was not the case because once I sat down all the pieces just fell together. 
 Supplies: cardstock (The Paper Studio and American Crafts), pattern paper (American Crafts), journaling cards (Project Life), doily (doodlebug Designs), sequins (Fancy Pants), wood Veneers and button (American Crafts), twine (Timeless Twine), washi tape (Hazel & Ruby), stickers (Elle's Studio, October Afternoon, and Carta Bella), tags (K & Co, and Elle's Studio), embossing folder (Momenta), ink (Close to My Heart), mist (Tattered Angels), electronic die cutter, software and cartridge (Provo Craft)

   Here are a few close-ups.  I am currently on love with faux letter pressing. It is a technique you do with an inked up embossing folder. 


Monday, September 28, 2015

Tech Difficulties

  Our family computer has bitten the dust this past week. One morning, I work up to the black screen of death but was lucky enough to open it up in safe mode to retrieve all of my photos and videos that have not been backed up. We are currently just using my dad's business computer but it is hard for me to get on it since there are three other adults always on it.

   Once, we get a new desktop or get this one fixed I will post my photos of the blood moon I took Sunday night.

Monday, September 21, 2015

Reasons

   It has been a couple of weeks that I posted anything for Scrapbook Challenges. The reason behind it is that the wonderful Brynn Marie has given the crew members a little break while she is on the hunt for some new talent.
Here is all the info you need to apply.
Are you a card maker, traditional, pocket, digital or hybrid scrapbooker looking to add to your design team resume?
Scrapbook Challenges is looking for some fresh faces to join our team for the Fall/Early Winter Term. If you are interested in joining the Sketch Crew please read on for more details!
What we look for in a team member:
Crisp, clear well photographed designs.
A consistent style.
An active online presence (blog, social media, galleries)
The ability to really make a sketch unique and your own.
A great PMA (Positive Mental Attitude) and sense of humor.
Term: Late September 2015 – January 2015
Requirements include:
1. Ability to complete 2 (two) layouts or projects based on SC Sketches before their stated due date every month.
2. 2 (two) additional challenge layouts per month.
3. Participation in team blog hops and special events.
4. Ability to fully commit to a 4 month term.
*Additional opportunities are available for those interested in sketch design, blog contribution, tutorial writing and more. Please see application.
What you get:
1. Name, bio and photo featured on our DT Page.
2. Link from our DT Page and Blog to your personal blog.
3. Design Team Badge to display on your blog.
4. Social Media exposure of your designs (Facebook, Twitter, Pinterest)
5. Additional incentives that will be announced at a later date 😉
Additionally, SBC is looking to add a Social Media Coordinator to the team! What we are looking for in a  Social Media Coordinator:
1. Strong communication skills
2. Strong organization skills
3. Knowledge of current scrapbook and social media trends
4. Must be self motivated, reliable, flexible and a team player
Responsibilities would include:
1. Promote weekly challenges and sketches on official SBC social media accounts.
2. Weekly Facebook posts to SBC facebook fan page.
3. Actively update the SBC Pinterest page
4. Organize any team Social Media events (blog hops, IG loops, etc)
How to apply:
1. Fill out and submit our online application here. (http://scrapbookchallenges.com/the-team/sbc-sketch-crew-application/)
*Please be as complete with your application as possible, an incomplete application will not be considered.
Additional Information:
1. International Applicants are welcome to apply.
2. SBC has no brand, store, designer or manufacturer requirements so you are free to create with your favorite brands or designers.
3. Submissions must be received NO LATER than September 22, 2015. Submissions received after this date will not be considered for a DT position.
4. New DT members selected will be notified by September 27th and the full announcement will be made shortly after.
If you have any other questions please post them here in the comments or e-mail admin@scrapbookchallenges.com.

Be sure to apply. It is a great team to work on. I should know I have been on here since 2013 and I am continuing the journey with them.

Saturday, September 19, 2015

Applesauce

Sorry, for posting the weekend recipe so late but it is worth the wait if you like applesauce.  Plus, this applesauce has no added sugar and I also I am sharing a mix-in option.  Since everyone knows what applesauce looks like I am not going to share a photo of mine. Also, one more good thing about this recipe is that it freezes wonderful. I make a few of these big batches throughout fall and freeze it in mason jars. It is snack in the middle of winter when it is hard to find tasty apples.

Ingredients:
3/4 peck apples ( I used purplicious and zester organic apples the cider mill offers)
3 c. water
1 - 1 1/2 tsp. cinnamon

Directions:
1. Peel, core and cut apple in large chunks. Place in a large stockpot.
2. Add water and cinnamon. Add 1 tsp. of cinnamon if you just want a cinnamon hint.
3. Bring to a boil and simmer for 15 - 20 minutes or until the apples are mushy.
4. With a stick blender or a blender, puree the sauce to your desired consistency.

Mix-ins:
Add 1 lb. (or 2 lb. if you want to do the whole pot of applesauce) of cooked strawberries to half of the sauce before pureeing. Now, you have a yummy strawberry applesauce.

Saturday, September 12, 2015

Stuffed

   That is what you would be after eating these tasty things. This recipe is a family favorite and also is the newest one added to my recipe book. Last Saturday, was the first time I ever made these and I was not sure how my mom would like these since she always said she didn't care for stuffed peppers. Just to be on the safe side I ended up stuffing a couple of zucchinis for her. I am happy to say I made my a stuffed pepper lover.
Here is what you need to.
Ingredients:
3 hot peppers, chopped finely
1 c. onion, chopped
3 garlic cloves
2 c. water
1 c. chicken stock, no salt
1 1/2 - 2 tsp. kosher salt
1/4 tsp. cayenne pepper
1/2 tsp. paprika
1 1/2c. quinoa
5 large tomatoes, 2 left as is and the remaining 3 squeezed for their juice
1/3 c. salsa
5 bell peppers, halved from top to bottom
2 zucchini, scooped out to create little boats
2 oz. cheddar cheese, shredded
2 oz. mozzarella cheese, shredded

Directions:
1. In a medium saucepan, add the first 8 ingredients. Bring to a boil over high heat.
2. Add quinoa, cover and reduce to a shimmer, medium low heat. Shimmer for 15 minutes.
3. In the food processor, chop two of the tomatoes until smooth. Pour into a large shallow baking dish (I used a 15" x 10" glass dish). Mix in the salsa and juice of the three tomatoes.
4.  Chop up the zucchini that was scooped out and the squeezed tomatoes. Stir into quinoa. If the filling seems soupy cook out some of the extra moisture by cooking over high heat with no lid for about five minutes, make sure you stir it often so it doesn't burn.
5. Preheat oven to 350 F (177 C).
6. Spoon a 1/3 cup of filling  in each pepper half and a 1/4 cup in the zucchini boats. If there is any filling left just go back and add more filling. Place in baking dish, filled side up.
7. Top with cheese. Cover with foil and bake for 30 - 40 minutes. The peppers and zucchini should be tender.


Friday, September 11, 2015

Anniversary House

   Tomorrow, is my parents 35th wedding anniversary. Every year, I go the handmade gift route for my parents. I love that with just a little money and some of my time I can give them a piece of one of a kind artwork. I originally was going to give them a stepping stone since they love the ones in the garden and have hinted a couple of times that they needed a few more. However, one evening I was walking in Hobby Lobby I saw this paper mache house the was begging me to take it home. I thought this would be perfect as a gift since my parents love those flameless candles to light up their bathroom during the night.
Supplies: fabric (DCWV), acrylic paint, stain (Tim Holtz), paint (Tattered Angels), gelato (Faber-Castell), dew drops (The Robin's Nest), modeling paste (Liquitex), stamps (EK Success and Technique Tuesday), ink (Close To My Heart), mask (The Crafter's Workshop), resin embellishments (The Paper Studio) and paper mache house.

   Here are a few closeups. I love those resign scrapbooking embellishments from Hobby Lobby. It was the perfect touch for above the doorway. The stamp set I used on here has to be 10 years old. It was something I won and that I rarely used. 

   I wanted to add some texture to the adhesive fabric I used to cover the house so I added some modeling paste on different areas with my favorite brick mask.  Then, I just went back with a rag that had some distress stain and rubbed it on the areas.
 
   Just so they remember when that got it I placed a big label on the inside of the roof top.

   The grass area was the hardest part. I didn't have the right color of paint or mist. Plus, I didn't want to have the flatness of paint. I decided to color some modeling paste with gelato and frosted the  edge and placed the diamond dew drops in the paste while it was wet. This ensured I didn't have to glue down every one of those little pieces by hand.

   Be sure to stop by tomorrow to see my latest recipe share. 

Tuesday, September 8, 2015

My Take on the Midori

   Two weeks ago, I jumped on the bandwagon for the midori (handmade version is called fauxdori). It is basically a cover that has elastic running through the spine to slip notebooks in. Everyone, knows I have a notebook sickness. I have a stack of them in my bedroom. When I told my mom about this leather cover book I was going to make she said she wanted one too. I did two different ones and will just share my personal one today. For my mom's I followed the instructions on this blog post I found on the blog Stamped in His Image.   

Here is mine. This one is a little different from the blog post I linked to. 
1. I added two extra elastic strings by adding an extra hole in the top and bottom of the spine. 
2. I also ran the fabric lining through the whole inside. I didn't find that the fabric bunched when it was folded. 
3. I didn't use the tooling leather on mine (only reason was they only had one package at my Hobby Lobby and I was using it for my mom's). I ended up buying the leather trim pack, the leather is softer. 
 Supplies: fabric, leather, twine (Timeless Twine), elastic 2mm cording, wooden bead, loose sheets of notebook paper. hole puncher (We R memory Keepers, and pattern paper (Nikki Sivils, DCWV, ?)

   Here is what the inside looks like. The fabric I used was a scrap from a purse I made four years ago. 

 The notebooks were simple to make and very cheap too. I bought a packages of 150 sheets of notebook paper for 82 cents and just used some of my pattern paper scraps to make the covers. All you have to do is trim the paper to the size you want, fold i have and staple it. I then just trimmed the pages with a craft knife so they were even. The last step in to glue them into the covers.

Saturday, September 5, 2015

Pie Time

   I have decided to start sharing some of my recipes here every Saturday. The reason behind branching out from the paper crafts posts is because I also have the love of cooking/baking. It is something I do everyday and find it just as relaxing as sitting in my studio playing with pretty papers.
 I figure today's one would be perfect for this holiday weekend. It is a mixed berry pie with a nice bright citrus note that makes this pie pop even more. Like all my pies, this is packed with tons of fruit and hardly any sugar. Plus, cleanup is fast, that is always a good thing.

Ingredients for crust:
1 c. flour
1/3 c. cold butter
pinch of salt
1 - 3 Tbsp. cold water

Directions:
1. In a food processor pulse flour, salt and butter until the mixture has a coarse consistency.
2. While the processor is running add a tablespoon water at a time. Add enough water to form a dough.
3. Chill while you prepare the filling.

Ingredients for pie filling:
2 lb. strawberries, hulled and sliced
1 c. blueberries
3 Tbsp. flour
2 Tbsp. sugar, divided
1 organic lemon, zested and juice

Directions:
1. Preheat oven to 375 F (190 C).
2. On a lightly floured surface roll dough out large enough to fit into a 9 inch glass pie plate.
3. In a large bowl, mix berries, flour, 1 tablespoon of sugar, lemon zest and juice.
4. Pour filling into crust top with the remaining sugar.
5. Bake for 30 - 35 minutes. Until the filling is bubbly and the crust is golden.

Saturday, August 29, 2015

Cocoa Zucchini Apple Cookies

  This time a year I find myself with loads of yummy fresh produce from the organic farmers at my local farmers market. That means I have been super busy in the kitchen making and processing things to freeze for the winter. If only you could see my freezer now. It is jam packed with mason jars full of zucchini, bell peppers, hot peppers, tomatillo salsa, tomato, sauce apple sauce and berries. So you can imagine I have been a busy bee preparing for the winter when it is impossible to find organic and USA grown items. 
   Anyway, I have been wanting to make a zucchini cookie but add cocoa powder and apple to it but my dad thought otherwise. I took that as a challenge. So this is what came out. A brownie like cookie that is moist from the grated zucchini and apples. I don't like my desserts super sweet so it only has a 1/2 c. of sugar which normally should be a 1c. Plus, the added apple adds a little sweetness. 
   My family loves these and my mom says it is her favorite cookie. She took some of them and made them into ice cream sandwiches. I haven't tried them yet but I am sure they are great.

Makes 2 dozen cookies
I used all organic ingredients. 
Ingredients:
1/3 c. butter, softened
1/2 c. sugar
1 tsp. baking soda
1/2 tsp. salt
1 medium zucchini
3 firm apples ( I used zesters), shredded, or it you want little apple chunks throughout, chop up one of the apples finely. 
1 egg
1/2 c. cocoa powder ( I used 100% raw cocoa powder) 
2 1/4 c. flour, I used white spelt flour but have done it with whole wheat
Directions:
1. Preheat oven to 375 F (190 C).
2. Cream butter and sugar until fluffy.
3. Mix in the baking soda, salt, egg and the grated zucchini and apple.
4. Stir in cocoa and flour.
5. If, you are adding apple chunks this is when they should be folded in.
6. Place a tablespoon of batter onto a greased cookie sheet. Placing each cookie 2" apart.
7. Bake for 10 - 12 minutes. The edges should be firm and the center soft. Let the cookies rest on cookie sheet for 5 minutes before removing.

Tip: If the batter seems too thin mix in a 1/4 c. of flour. The batter should be loose but not like a pancake batter.