Showing posts with label sewing. Show all posts

Saturday, March 14, 2020

Simplicity Sewing

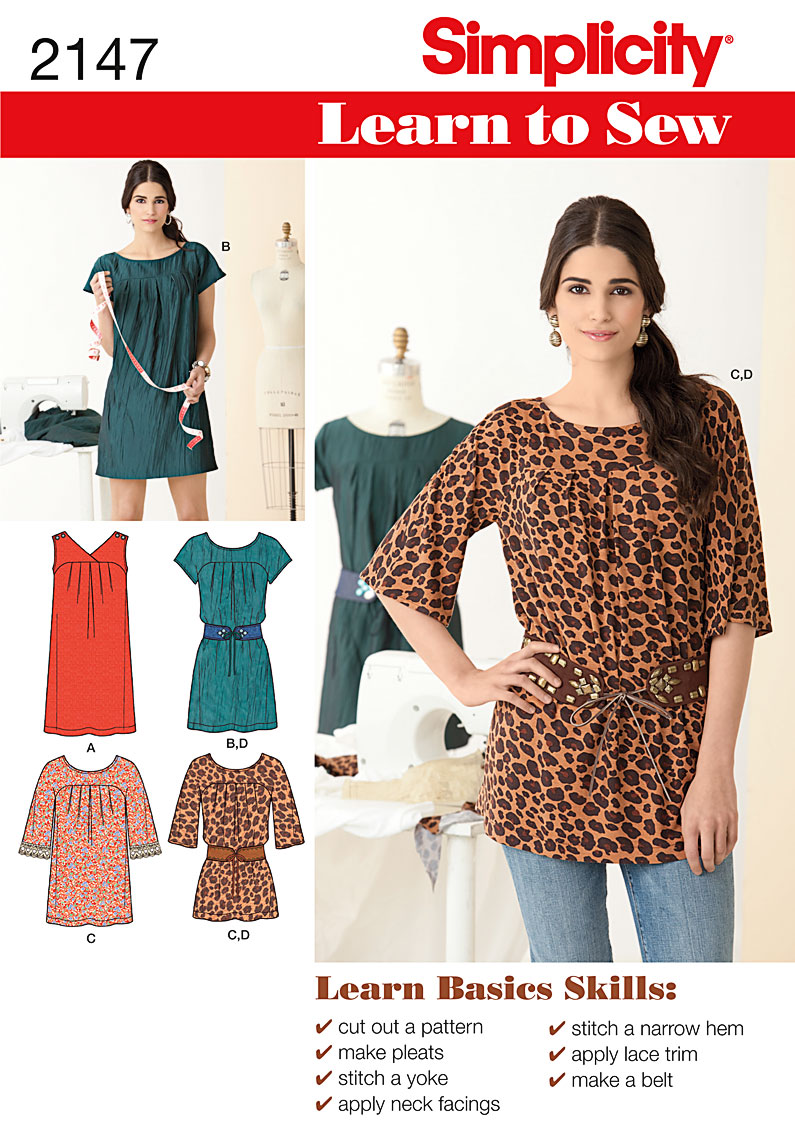
   For the past three days, I have been skipping shop work to create a blazer from lovely printed fabric that I found at Hobby Lobby. I used this pattern, hint follow the finish garment measurement size instead of body size because body measurements will make the blazer 3 sizes too big. 

   Since it has been 2+ years since I read a pattern I thought let's make it more challenging by following the directions on pattern A with the sleeves on pattern C. I also opted for no button since I figure I can always add one at a later day.

   Here is the finished result of those long hours and one sleepless night (I think I might have had a nightmare of the collar, LOL). The total cost of this was under $15. I can't wait to wear this out with a long gray T-shirt dress that I have. 


   I love the split sleeves. 

   Here is the back. It is a fitted blazer so there are princess seams. 

Monday, October 3, 2016

Sewing Tip

   As you can tell from my latest posts is that I have had the sewing bug. You would think for me sewing would be hard to since I don't have contact lenses at the moment so my double vision would cause wonky seams. This is true but I came up with a trick that I am sure others use. It is to take a stack of post-it notes and stick them at my seam allowance on the machine. 

Thursday, September 29, 2016

Another Completed Sewing Project

   This week I tackled another sewing project. I have abandon my scrapbooking for over a month but that is only because I have gotten bitten by the sewing bug. This happens twice a year when the weather changes. 

   This time I made a trendy top that is made from a super soft flannel. Here are some photos of it. They are not the best looking photos since it is a rainy day here. I used simplicity pattern #1013

    Here is what it looks like on. It is a loose fitting top so it is great for layering. I should have looked in the mirror before the photos were taken since the plaid looks off in the images but it really isn't. 


Tuesday, September 20, 2016

Better Late Than Never

   I have a tendency to buy cute sewing patterns when there is a great sale like the $0.99 sale Hobby Lobby and let them go untouched for months or years. This pattern is one I bought last year. I had planned on making before summer but between my eye healing, finding time and looking for the right fabric it never came together.  Even though it is getting cool I still made this since I found the right fabric and had the time, aka the sewing bug hit. 

   Here is how the dress came out. I have to say it took a lot longer than I  planned. Three days worth of work and becoming friends with the seam ripper I am happy to say I love how it came out.. I had the feeling the whole time that it was going to be way too big since it was starting to look like a tent. I ended up trimming the length so it hit at the knee, which made it not so big at the bottom. I just love the vintage look of this. 

   The top fabric has a silver metallic star print.

    To make it wearable during the cooler weather I paired it up with the long cardigan. Plus the combination of this with leggings and tall boots is super cute.  It looks better on me instead of the hanger.

Saturday, June 4, 2016

T-shirt Extender

Sorry, for the long hiatus of the fashion series I was doing on Thursday's. Today's I am going to share with you the last one in the series.
 
   This is is super simple T-shirt extender. All you need is some knit fabric.
Directions:
1. Measure your waist.
2. Cut two pieces of fabric out making the top your waist measurement and the bottom bigger by 6"-8" bigger. it should look like a  trapezoid. Doing this ensures a snug fit in the waist and a more roomy fit around the hips.
3. Pin right sides of fabric together and stitch, I used a 1/4" seam allowance.
   That is it now you can have the layer look without the bulk. Plus, it adds modesty to that shirt that is just a tad to short or just won't stay down in the back.

Thursday, April 28, 2016

Altered Jean Skirt

  Welcome to week two of the month long Thursday fashion series. This week I am going to be sharing on how to bring new life into a well loved jean skirt.

   Here is the skirt I used. It was an old skirt that I have had for years, as you can see  the bottom of it looks faded. For this alteration I just needed some lace fabric and a solid scrap fabric. 
   1. I cut 6 inches off the bottom since I wanted to get rid of the slit in the back.
   2. I serged the edge to stop it from fraying. Next, I fold under edge a half inch and ironed it. That pressed edge is the new bottom hem.
   3. Measure the opening of the bottom, mine was 42" so I cut two pieces of lace fabric 43" x 20" land one piece of solid fabric 43" x 6". I them sewed all the fabric into long tubes, pinned them to the inside of the skirt and stitched them in place.

   4. I am in love with the high low skirts so I ended up laying the skirt out flat with the front matching the front and back matching the back. I then cut the bottom in a curve with the back being long and shorter in the front.
   Since I cut so much of the jean fabric off the skirt I added this fabric to the inside of the skirt for modesty.

   Looking at this photo I can see I still need to do some more cutting on the lace since it is not high enough in the front. 

Thursday, April 21, 2016

Altered Jean Jacket

   When it comes to the change of seasons I always look through my closet to see if there is anything I want to donate, need to fix or alter. I came across of this jean jacket that I had iron-on a decal years ago but fell off. You can still see part of the design and I also noticed a hole was also appearing. I was just about to get rid of it but then thought of a way to save it. 
  1. cut out the back but leave about an 1" border around the original seams.
   2.  Fold excess fabric to inside of jacket and iron.
3. Pin lace to the inside of jacket and stitch.

   Here is the final product. It is a nice way to freshen up a old jacket. Plus, it is a cheap way to add a "new" trendy item to your wardrobe.
   I love the blush color of this lace fabric I got from Hobby Lobby. For this alteration it cost me under $5.

   If you like this post be sure to come back next Thursday because this part of a Fashion series I will be sharing here every Thursday for the next month or so. 

Wednesday, December 9, 2015

Finally Did It

   Back in October I went to Hobby Lobby and bought  some solid black fabric and an Aztec print fabric that I was head over heels in love with. I already had a tunic pattern at home.
The reason it took so long to create it was I first had to do Buster's Captain America costume for Halloween, go to Ohio for an eye exam, start on birthday stuff for my dad's birthday, Thanksgiving,etc. However, the main reason was I was waiting for a contact lens that would allow me see the pattern cutting lines clear enough without seeing multiple images.
Fast forward to last weekend. I finally had the lens (that I thought would work). I cut the pattern out Friday and made the tunic Saturday night. I am happy to say it came out great and I ran into no problems doing it (no seam ripper came out). So if you are a beginner sewer I would highly recommend this.
This is the pattern I used.

   This is how my tunic came out. 

I know what I will be wearing this holiday season.

Saturday, May 3, 2014

NSD & Sketch Reveal

If you are a scrapper chances are you know today is National Scrapbook Day. Over at Scrapbook Challenges we thought it would be a good time to do another sketch reveal.
 Here is what I did with this sketch #391
Supplies: cardstock (The Paper Studio), pattern paper (Studio Calico), twine (Timeless Twine), sewing machine, black thread,, modeling paste, stitching templates (American Crafts) sticker (My Mind's Eye), diy enamel dots, mask (Crafter's Workshop), washi tape (?) and mist (Heidi Swapp)
 I just bought some more of these fabulous stencils by Amy Tan at Scrapbook Steals. I bought two sets and I am loving them both as you can tell since both are in use on this page.

Thanks for stopping by and I hope after this weekend I will be back into my scrappy mood. I am aiming to get 40 projects down this weekend. Wish me luck

Thursday, July 11, 2013

Sewing Time

Every summer I get the sewing bug. I think because I spend a lot of time home when my dad works. For the past four years I have made myself a new purse. This year I tried something different.
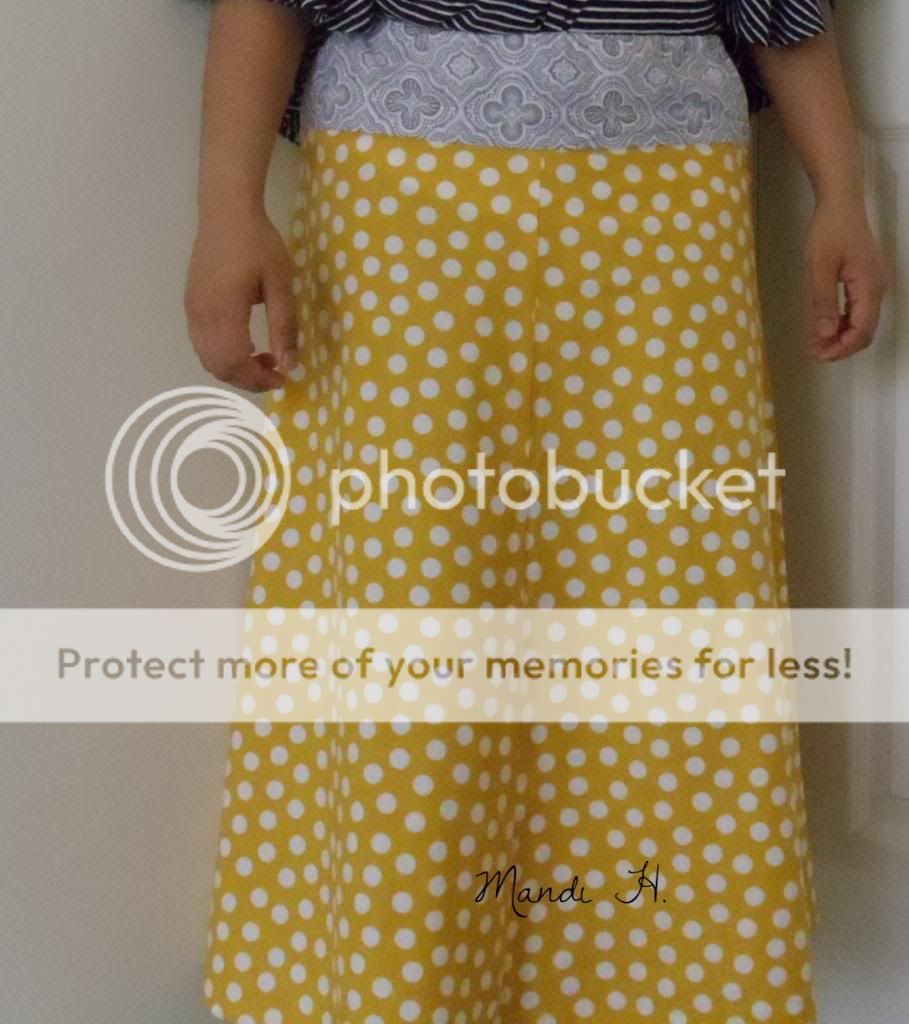
I made a my first piece of clothing. A nice long skirt. I love skirts since I live in them in the summer. Yes, I am one of those girls you will see in Home Depot carrying wood or flooring material to the checkout.
Pattern #2609 by Simplicity
This has past the durability test of Buster. He kept jumping on my leg and pawing at it. I just I got hi approval too.
Since I had some yellow fabric leftover I ended up making a purse that I mixed with some other scrap fabrics.
Pattern # 2551 by Simplicity
 Here is the inside. It has four pockets inside.
Make sure you buy the patterns hen they are on sale. I get mine at Hobby Lobby when they have their $. 99 sale.

Tuesday, April 30, 2013

Farwell LCOM

Monday, was my last project of my term.  I am hosting their last challenge for We Love Cards month. The challenge is to using sewing. This can pen stitching, machine stitched, hand stitch or even a embellishment could have printed stitched lines. 
Here is my card. I pierced hole along the border strip and drew lines to connect the dots. I also machine stitched through "MOM".
supplies: pattern paper (My Mind's Eye), embossing machine and folder (Sizzix), stamp (Studio G), ink (Stampabilities), stickers (October Afternoon), gem (KaiserCraft), Stickles, die-cut (Basic Grey), doily, toothpick, sewing machine and pen. 
Head over to the LCOM forums and play along.

Monday, December 31, 2012

2012 Review

Since today is the last day of 2012 I decided to highlight 12 projects that I love. Each one represents a different month.
Jan. is a layout of my brother and I playing the wii.
Feb. I created a bucket list for crafting.
March. I created a party ensemble for a challenge which I later used for my birthday. 
April. My brother's birthday card.
May is another page of my brother and I . 

June was mason jar fun. I love this wall hanging.
July is a baby page of me. I love all the pattern, colors and layers.
Aug is a page of my mom. I love the clusters.
Sept. is a fun page of my brother learning to walk. 

 Oct. I made this doctor costume for Buster. He came in second place at Petco. This is what he won.
Nov.  I love the everything about this ATC.
Dec.  I keeping up the tradition of goofy Christmas faces.
Hope you enjoy the look back of my year. Hope to see you join me again for the upcoming one.