Showing posts with label home decor. Show all posts

Friday, September 11, 2015

Anniversary House

   Tomorrow, is my parents 35th wedding anniversary. Every year, I go the handmade gift route for my parents. I love that with just a little money and some of my time I can give them a piece of one of a kind artwork. I originally was going to give them a stepping stone since they love the ones in the garden and have hinted a couple of times that they needed a few more. However, one evening I was walking in Hobby Lobby I saw this paper mache house the was begging me to take it home. I thought this would be perfect as a gift since my parents love those flameless candles to light up their bathroom during the night.
Supplies: fabric (DCWV), acrylic paint, stain (Tim Holtz), paint (Tattered Angels), gelato (Faber-Castell), dew drops (The Robin's Nest), modeling paste (Liquitex), stamps (EK Success and Technique Tuesday), ink (Close To My Heart), mask (The Crafter's Workshop), resin embellishments (The Paper Studio) and paper mache house.

   Here are a few closeups. I love those resign scrapbooking embellishments from Hobby Lobby. It was the perfect touch for above the doorway. The stamp set I used on here has to be 10 years old. It was something I won and that I rarely used. 

   I wanted to add some texture to the adhesive fabric I used to cover the house so I added some modeling paste on different areas with my favorite brick mask.  Then, I just went back with a rag that had some distress stain and rubbed it on the areas.
 
   Just so they remember when that got it I placed a big label on the inside of the roof top.

   The grass area was the hardest part. I didn't have the right color of paint or mist. Plus, I didn't want to have the flatness of paint. I decided to color some modeling paste with gelato and frosted the  edge and placed the diamond dew drops in the paste while it was wet. This ensured I didn't have to glue down every one of those little pieces by hand.

   Be sure to stop by tomorrow to see my latest recipe share. 

Saturday, April 25, 2015

Home Decor Featuring Tattered Angels - CCB

  Hello and welcome to another home decor project i have created as a part of the Canvas Corp. Brands creative crew. This time I am revamping some fall color candles into a beachy theme. 

Supplies from Canvas Corp. Brands:
Other:
Flameless candle
Liquid glue

Directions:
   Step 1: Wrap candle with the paper tape.
    Step 2: Paint the paper tape with stain glass. I did two coats. This gave it a nice ocean blue color.
    Step 3: Mist the rope with the brown mist.
    Step 4: Using your favorite liquid glue attach the rope to the paper tape.
   Tip: Using the paper tape and adding any alterations on top of it allows you to remove the wrap without any damage to the candle. This is a cheap and simple way to dress up a out of season candle and  make use of it at any given time.
   Be sure to stop by the Canvas Corp Brands blog to see what the other members of the creative crew has made.

Sunday, November 17, 2013

Thankful Napkin Ties

When I was going through my table decorations for Thanksgiving I found out I needed place cards and napkin rings, so I decided to combine the two. I ended up using a wedding theme Cricut cartridge for the place card/ napkin ties. 
Supplies: cardstock (The Paper Studio), electronic die cutter and cartridge (Prove Craft), stamps (Jenni Bowlin and Deep Red Stamps), ink (Stampabilities and Karen Foster) twine (Timeless Twine), eyelets (The Eyelet Outlet) and diy enamel dots.
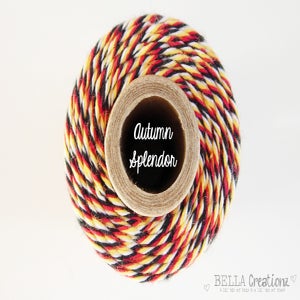
 I love the monogram but I wanted it to pop so I used the Autumn Splendor twine and my favorite liquid glue (Glossy Accents) to trace the letter. I then just added a eyelet and tied it to the napkin with the Kraft Brown twine. 
I left the backs plain so the person could write on the back of the tags of what they were thankful of that year. So when it comes time to scrapbook I already have the journaling done from everyone.
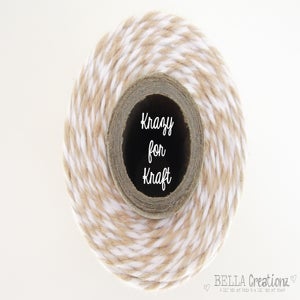
                            Image of Kraft Brown Bakers Twine ~ {Light Brown, Khaki, Flax Bakers Twine} Image of Timeless Twine™ - Autumn Splendor - Fall bakers twine

Thanks for stopping by. 

Sunday, November 3, 2013

Jazzing Up Candles

Hello, today I am going to turn plain candles into a one of a kind home accent. 
To create these I just used some scrap cardstock, doilies, charms, flowers and the thing that held them together is twine. 


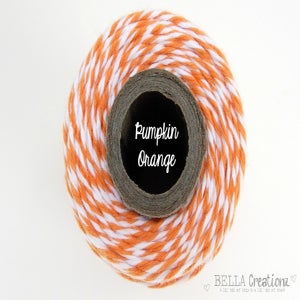
I used Autumn Splendor, Kraft Brown and Pumpkin Orange twines.  
Image of Timeless Twine™ - Autumn Splendor - Fall bakers twine Image of Kraft Brown Bakers Twine ~ {Light Brown, Khaki, Flax Bakers Twine} Image of Pumpkin Orange Bakers Twine ~ Timeless Twine™
Do this to battery-operated candles so there is no fire risk. I used these ones from HSN.Thanks for stopping by.

Sunday, May 19, 2013

Homemade Air Freshener Timeless Twine Style


Today, I am going to show you my latest project. It is a pretty homemade air freshener that is decorated with twine and washi tape.
I love to collect empty glass spice jars. I love that they can hold small things, make great vases and now air fresheners.  I added the grey twine around the top to hold the tulle and green twine pom-pom in place and I also glued it in between the tape.
You could fill it with potpourri or do like I did and fill it with baking soda and essential oil.
Image of Gray Bakers Twine by Timeless Twine - "Graphite Gray" Image of Olive Green Timeless Twine™
Thanks for dropping by and I hope I inspired you to dress up some glass items with twine.
Don't forget about our May challenge that is going on now. Also, check out our shop for our newest and trendy neon glittered clothespin

Monday, April 1, 2013

A Blog Named Hero + Timeless Twine Hop

 
  Today, is A Blog Named Hero 1st birthday. They are having a month long celebration. Each week they are teaming up with a different company. Timeless Twine is helping to kick of this celebration. 
   Since it is a birthday we created birthday themed projects. I ended up creating a decorative embroidery hoop for the wall.
I used some leftover fabric from a purse for the background. After that I just add stuff from my paper craft stash. I used a banner stamp from Hero Arts. Olive green and Strawberry Truffle twine from Timeless Twine. 
Check back at A Blog Named Hero and Timeless Twine for more inspiration from the other designers. 

Saturday, February 2, 2013

Hopping for Valentine's


If you are looking for Scrapbook Challenges click here.
Since Valentine's Day is right around the corner it is perfect timing to do a hop with Valentine's Bakers Twine by Timeless Twine. For the hop I created napkin rings.


Supplies: twine (Timeless Twine), gems (EK Success), washi tape (Doddle Bug Designs),glossy accents, air dry clay and empty Scotch tape spools.


1. This part is optional. Fill the indentations with the clay. Make sure you don't get any on the inside and outside of the ring.
2. Wrap ring with washi tape and twine.
3. Add bow in gem.
Next stop is Melisa
Be sure to comment on all the blogs because one luck commenter will win this