Showing posts with label target. Show all posts

Tuesday, September 6, 2016

Clean and Simple Joy Card

   This is my last post for today. I promise. This post is for another card that I created with this week's CAS-Ual Fridays challenge. 

Here is my take on the challenge. 
Supplies: cardstock (Canvas Home Basics and American Crafts), pattern paper (Scrap Works), wooden ornament (Target), stamp (Close to My Heart), ink (Close to My Heart), bakers twine (Bella Creationz), sequins (SpiegleMom Scraps), dies (Spellbinders), die cutter (Spellbinders) and lace (Heidi Swapp)

   I love the big snowflake on here. I got it in a pack of gift toppers from Target at the end of the season last year. 


I think this look is such an elegant look for the holiday card.

   I love the triple layer bow with the sequins star center.

   I couldn't resist to add a touch of lace to the bottom of the card.


Monday, January 25, 2016

After Gifts on December 24th - SBC #468

   This sketch is a fun to work with and super easy to fit your needs. This is Scrapbook Challenges #468 sketch reveal. 

   Here is my take on it.
Supplies: cardstock (Bazzill), pattern paper (7 Gypsies, Canvas Corp Brands and Anna Griffith), journaling card (Studio Calico), marker (Bic), chipboard (Studio Calico), stickers (Studio Calico and Glitz Designs), stamps (Inkadinkado, Stampin' Up!,  and 7 Gypsies), tag (Pretty Little Studio)

   The title of this page was easy to come up with since our family tradition is opening of gifts on Christmas Eve. This all started back when my mom was a little girl. 


Monday, January 18, 2016

On Guard - SBC #467

   At first when I saw this sketch I was not going to do it because I couldn't think of a photo that would work with the design of the sketch. After looking on my tablet I saw the perfect one. this is sketch #467 for Scrapbook Challenges. 

   Here is my take on it. I am happy to say that I was able to create this page with very little Christmas stash. I went through it with my December Daily so I only had a few items left.
 Supplies: cardstock (American Crafts), pattern paper (7 Gypsies and Graphic 45), transparency (Webster's Pages), stickers (American Crafts), wood veneer (Target), stitching template (American Crafts), washi tape (American Crafts), stamp (K & Co.), ink (Memento), doily (Doodlebug Designs), twine (Timeless Twine) and embroidery floss. 

   the "on" was hand embroider with one of the Amy Tan stitching templates. I still love those. 

   Here is a the journaling.


Friday, January 8, 2016

Seating for 4 - SBC #FBF

   After many distractions, one being of Buster staring at me with one eye while laying in his bed, and errands I finally am getting this post posted. Today's post is the first remake sketch of the year for Scrapbook Challenges. 
   This is the original. 
   Here is the update. 
   I loved this sketch because I was able to change the amount of photos easily but the sketch is easily can be seen in the finish product.  First off I have to say I am in love with the printer I got for Christmas. I just love the quality of this print I did.
Supplies: cardstock (The paper Studio), patter paper (Heidi Swapp and Canvas Corp. Brand), border punch (EK Success), doily (Studio Calico), stickers (American Crafts and Studio Calico), wood veneer (Target), electronic die cutter, software and cartridge (Cricut), sewing machine and black thread.

   Here is a little tip on wood veneers, buy those cute little gift toppers or ornaments you can find at Target. I bought a package of 6 of these snowflake for only $0.50.  These would have easily been  a lot more if you found them at a craft store. 
   Here is a close up on the title work. After I did this page I realized I used the same title for 2014 Thanksgiving page or Christmas.

Thursday, November 19, 2015

Getitng Ready

   December is fast approaching and for me it is a busy time creating and capturing memories. This is my fifth year of documenting my December in a daily album. Every year, my album base is different, I have had them bond with split rings, 3-d ring binders, and even did my own binding with cardstock. This year's album is going to held together with a wire spine. I deconstructed a Fancy Pants brag book.
  
   Today, I am going to walk you through my kit I created and give you tips on how to have you album completed after the 25 days. 

   First step is to create a kit, since I have a small stash of Christmas embellishments I basically pulled everything in this kit.  I have stickers, chipboard pieces, twine, sequins, tags wood veneers, doilies, washi tape and die cuts. 
This year I decided to use stamps for the numbers for the days. For the journaling spots I did something different than previous years. I normally, use tags I cut out or Christmas journaling cards but this year I am challenging myself to use some basic design cards from My Mind's Eye. I have a nice big stack of these so I want to make a dent in the pile.

   I already decorated my foundation pages and stamped the day on the lined page. I used almost all my Christmas paper stash on this album. I have Heidi Swapp, American Crafts, My Mind's Eye and the Paper Studio. Since nothing is bound yet I can choose any day page for that day. Since the paper is rather thing in these books I doubled up the pages so they had a nice feel to them. I just glued the extra pages that were in the book together so I didn't have to worry about having to cut out the holes for the binding wire.
   One thing I learned about the stamping thing. Make sure you are wearing your glasses so you do end up stamping the Thursday on all the Tuesday pages.

   In my album foundation I have photo sleeves, blank journaling pages, decorated pages, and some kraft split pocket pages (these I will use to slide recipes in), and my decorated covers.

   To keep everything together and ready for me to use at the end of each day I used one of those huge freezer bags to hold everything. I found out last year this was one thing that helped me to succeed unlike two years ago where I failed big time, that album has hardly any journaling. Another thing to do is make sure you print the photos everyday so you don't put it off. If you can't print from home just make sure you take good notes so you what was each photo was about.
   I hope this has helped you to decided to rake the Dec. Daily plunge. You don't need one of those expensive kits to document you holiday celebrations. All this stuff I had in my stash so I spent nothing for this.

Thursday, October 2, 2014

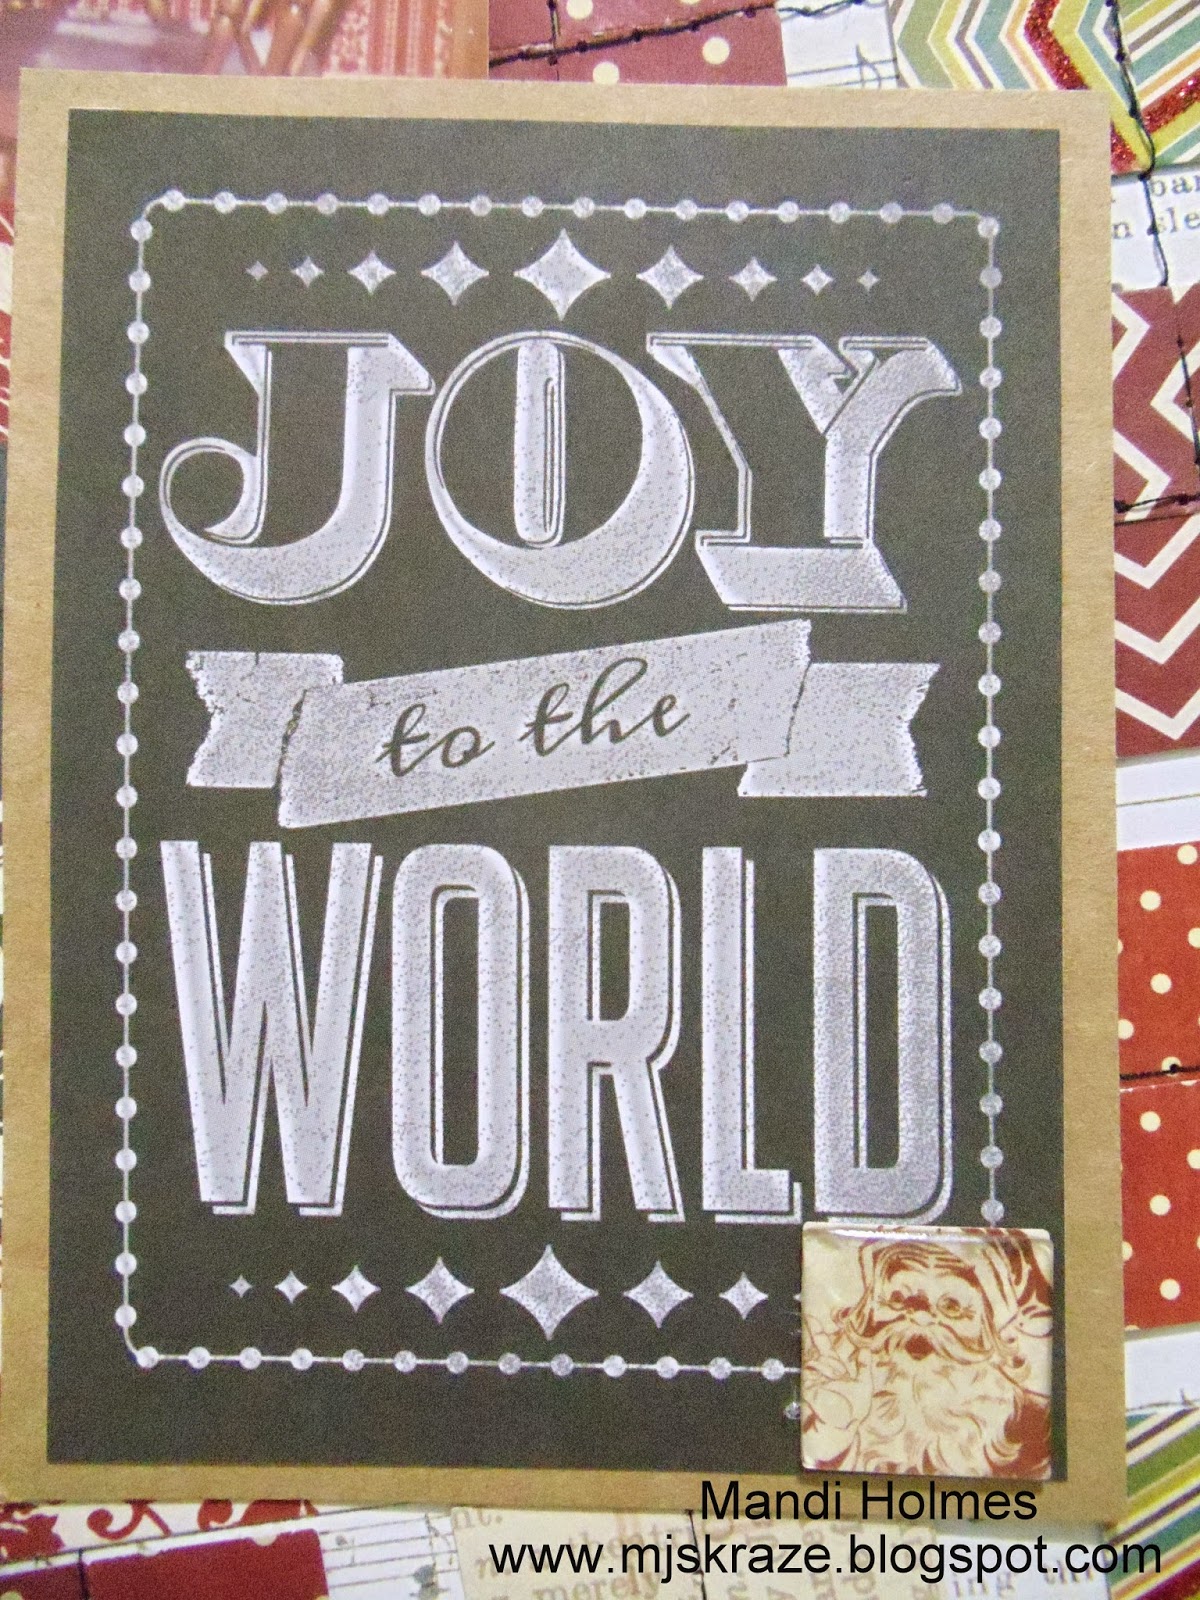
Joy To The World - Scrapbook Challenges


Supplies: cardstock (The Paper Studio), pattern paper (My Mind's Eye and Heidi Swapp), doily (DoodleBug Designs), punch and epoxy cover (Epiphany Crafts), sewing machine and black thread.

Here are some close-ups.