Showing posts with label srm stickers. Show all posts

Friday, June 10, 2016

Explosion Box Card

   I have been seeing these pop-up box cards all over online for the over a year now. I always wanted to try to make but but I always forgot to get the directions before I wanted to play with my paper items so it took me over a year to actually, remember to find a how to. 

   I ended up making one for my mom's nirthday and found that I loved the outcome even more so I made another one as a giftcard holder birthday card for my shop.
I


Last month, I finally ordered a rubber stamp for the back of my cards. I love the font. I ended up getting it from Stampin' Place. I found that their prices were great and their selections.

I ended up using a SRM Sticker bag on the back panel of the card so it could hold a gift card.

Tuesday, December 8, 2015

Ornaments Done Two Ways

   I am going to walk you through on how to turn a clear glass ornament bulb and two switch plate covers into two very different looking ornaments and all it take is just a little time. 

   In little as 30 minutes you could have these two unique ornaments tucked onto a tree or into gift bags for those unexpected last minute gifts you need to give.  
Supplies: cardstock (The Paper Studio), pattern paper (Heidi Swapp), sequins, twine (Timeless Twine), sticker (SRM Stickers), washi tape (American Crafts), ink (Close to my Heart), snowflake stamp, transparency, glass bulb and switch covers.

For the glass bulb, I just had my cricut cut out two 3" circle that fits into  a 3 1/4" bulb. I glued the circles together and trimmed of an 1/8" off the top. Add your sticker and roll up the paper in a tube so it can be popped into the bulb. Using a pencil or any small stick maneuver the paper until it is opened and flat. Fill with sequins and pop on the top, make sure the prawns on the clip is on either side of the paper. Add a pom-pom made from the twine and add the twine hanger string. 

For the light switch version this takes a little longer but is worth it. 
First start by covering the covers with your pattern paper. Cut out opening. On a transparency sheet stamp snowflakes. Cut sheet a little bigger that opening size.Glue inside covers with hot glue making sure the stamp side is facing in so there is no chance of smudges. Glue covers back to back. Cover seam with washi tape and twine. Glue on decorations. Poke hole into top hole on covers and thread twine through. 


Thursday, November 19, 2015

Getitng Ready

   December is fast approaching and for me it is a busy time creating and capturing memories. This is my fifth year of documenting my December in a daily album. Every year, my album base is different, I have had them bond with split rings, 3-d ring binders, and even did my own binding with cardstock. This year's album is going to held together with a wire spine. I deconstructed a Fancy Pants brag book.
  
   Today, I am going to walk you through my kit I created and give you tips on how to have you album completed after the 25 days. 

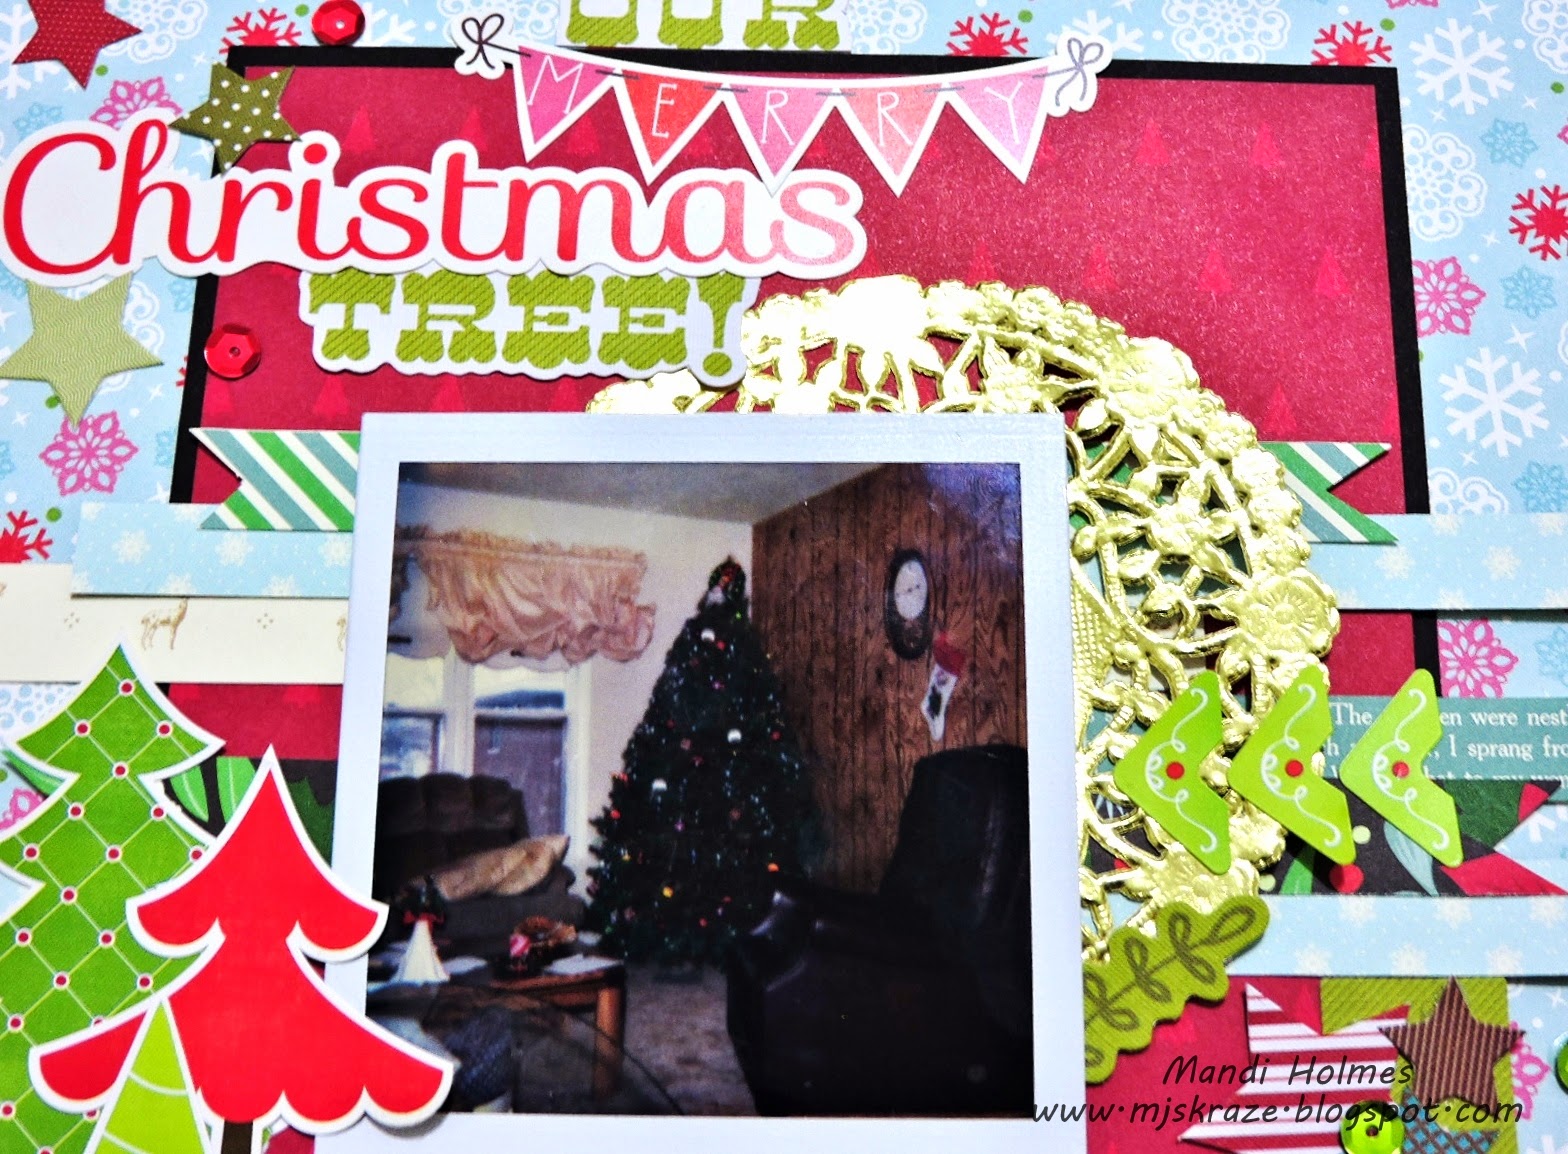
   First step is to create a kit, since I have a small stash of Christmas embellishments I basically pulled everything in this kit.  I have stickers, chipboard pieces, twine, sequins, tags wood veneers, doilies, washi tape and die cuts. 
This year I decided to use stamps for the numbers for the days. For the journaling spots I did something different than previous years. I normally, use tags I cut out or Christmas journaling cards but this year I am challenging myself to use some basic design cards from My Mind's Eye. I have a nice big stack of these so I want to make a dent in the pile.

   I already decorated my foundation pages and stamped the day on the lined page. I used almost all my Christmas paper stash on this album. I have Heidi Swapp, American Crafts, My Mind's Eye and the Paper Studio. Since nothing is bound yet I can choose any day page for that day. Since the paper is rather thing in these books I doubled up the pages so they had a nice feel to them. I just glued the extra pages that were in the book together so I didn't have to worry about having to cut out the holes for the binding wire.
   One thing I learned about the stamping thing. Make sure you are wearing your glasses so you do end up stamping the Thursday on all the Tuesday pages.

   In my album foundation I have photo sleeves, blank journaling pages, decorated pages, and some kraft split pocket pages (these I will use to slide recipes in), and my decorated covers.

   To keep everything together and ready for me to use at the end of each day I used one of those huge freezer bags to hold everything. I found out last year this was one thing that helped me to succeed unlike two years ago where I failed big time, that album has hardly any journaling. Another thing to do is make sure you print the photos everyday so you don't put it off. If you can't print from home just make sure you take good notes so you what was each photo was about.
   I hope this has helped you to decided to rake the Dec. Daily plunge. You don't need one of those expensive kits to document you holiday celebrations. All this stuff I had in my stash so I spent nothing for this.

Monday, July 13, 2015

Sitting Ducks - SBC #447

   Today over at Scrapbook Challenges is another great Monday Sketch reveal. The sketch #447
Supplies: cardstock (The Paper Studio), pattern paper (Die Cuts With a View and Crate Paper), buttons (Crate Paper), wood veneer (Studio Calico), embroidery floss (DMC), doily (The Paper Studio and SRM Stickers), resin embellishments (The Paper Studio), stickers (American Crafts and My Mind's Eye), ink (Quick Quotes), tag (Elle's Studio) and journal spot (Basic Grey).

Here are some close up of the details. That journaling spot came from a scrapbooking kit that I won years ago. I use to use it as a template to create that on other papers, that is why if you look closly you will see pen marking along the edges. 
   I didn't have any pattern papers that had ducks on it so I use the next best thing. I figured any bird would do in it place, the only criteria I had for it was that it had to be some king of wild bird.


Sunday, May 10, 2015

Pinkfresh Studio Crop = Christmas ?

   Last weekend I celebrated National Scrapbook Day with a lot of online challenges and crops. I was involved in at least six different sites. I can say I got a lot of layouts completed even though I was feeling under the weather. Right now, I want to share the three projects I created for the Pinkfresh Studio crop. 

This page is based on the Pinkfresh Studio layout sketch. 
   Here is my take on it.
 Supplies: cardstock (Core'dinations and Bazzill), pattern paper (American Crafts and Carta Bella), stickers (My Mind's Eye and Elle's Studio), chipboard (October Afternoon), sequins (Fancy Pants), twine (Timeless Twine), journaling card (Project Life), wood veneers (Target and American Crafts), doily (Sunny-side Bakery), stitching template (American Crafts) and mist (Tattered Angels and Heidi Swapp).

   Here is a close-up of the title.
    Since the I didn't have really a spot for writing I just tucked a project life card under a photo.

The upcoming layout was done for the sequins challenge from Pinkfresh Studio and I also used a Let's Get Sketchy sketch from Team A May week 1. 
   Here is my take on it.
 
Supplies: cardstock (The Paper Studio and American Crafts), pattern paper (Heidi Swapp), die cuts (Fancy Pants), doily (SRM Stickers), sequins (Fancy Pants), stickers (American Crafts, Carta Bella and October Afternoon), and electronic die cutter machine, cartridge and software (Provo Craft).

   Here is a close-up on the title. 

 This card is from the Pinkfresh Studio card sketch challenge. 

Here is my take on this sketch.
Supplies (American Crafts), washi tape (Scotch Brand, My Mind's Eye and Target), sequins (Tree House Studio), mist (Tattered Angels), canvas butterfly (Studio Calico), stamps (Studio Calico), ink (Memento and Close to My Heart) and diy enamel dot.

Thanks for popping by and checking out just a couple of my projects I did on NSD.

Monday, April 20, 2015

Love & Joy This Holiday Season - SBC 346

   Hope everyone had a great weekend. I spent it running to hardware stores to get stuff for my dad while he worked on our kitchen remodel. It will be interesting on how I will make dinners in there once he starts removing the floor and the rest of the cupboards. I will post pics soon. and expect little updates throughout the whole process. 

   Now, on to this week's sketch #436 reveal for Scrapbook Challenges. 
   For this page. I switched the number of photos I used. Instead of using the large 8x10 photos I ended up using four 4x4 photos. This allowed me to get more photos on this page. In other words, I didn't want to go to the store and pick up photo paper to print a photo that big.
Supplies: cardstock (The Paper Studio), pattern paper (Carta Bella), stickers (My Mind's Eye and American Crafts), die cuts (Fancy Pants), doily (SRM Stickers), sequins (Hazel & Ruby). chipboard (October Afternoon) and electronic die cutter, cartridge and software (Provo Craft)

Friday, March 27, 2015

Our Merry Christmas Tree

   I can't believe I have waited so long to play over at LCOM. It has been two years since I was on their team. I just happen to see this great sketch in my Bloglovin' feed and knew I had been missing out on the fun over at my old stomping grounds. 

   Here is my take on the sketch.
Supplies: cardstock (The Paper Studio), pattern paper (Echo Park and American Crafts), stickers (Echo Park), sequins (Fancy Pants Designs), die cuts (Fancy Pants Designs), and doily (SRM Stickers)

Here are the closeups. 

   Thanks for stopping by. 

Tuesday, March 24, 2015

Our Love & Joy

Let's Get Sketchy March week 1 

Supplies: cardstock (The Paper Studio), pattern paper (Echo Park), stickers (American Crafts), doily (Sunny Side Bakery), mist (Tattered Angels) and electronic die cutter, software and cartridge (Provo Craft)

   After I created this page I only had a small pile of scraps from the "Time & Seasons" collection so I set out to eliminate that package from my stash. I am happy to say I got three cards and matching envelope seals from the scraps. 

Supplies: cardstock (The Paper Studio), pattern paper (Echo Park), doily (SRM Stickers), stamp ink (Memento), mist (Studio Calico) and stamps (The Paper Studio, Peachy Keen Stamps and ?)
Supplies: cardstock (The Paper Studio), pattern paper (Echo Park), doily (SRM Stickers), mist (Studio Calico), stamp ink (Memento), embossing machine and folder (Sizzix) and stamp (The Paper Studio)

   I can say I now have my dad's Father's Day card. 

Monday, March 23, 2015

Report: Play & Eat - SBC #433

   Scrapbook Challenges sketch reveal #433 is a great simple grid style. I have found out that I love grids but I don't seem to do them that often. 

   Here is the companion page to Buster's birthday layout I posted here. Yes, it is an 8x8. 
Supplies: cardstock (The Paper Studio), pattern paper (Studio Calico and Studio Tekturek), journaling cards (Project Life), stickers (Elle's Studio and American Crafts),  wood veneers (Studio Calico), washi tapes (Scotch Brand and We R Memory Keepers), enamel dot (My Mind's Eye), sequins (Hazel & Ruby), stitching template (American crafts), twine (Studio Calico kit) and doily (SRM Stickers)

Here is the hidden journaling. 
 I love the the title cluster.  It draws your eye to what would be an overlooked element.