Friday, April 24, 2020

Dies R Us Pop-up How To

   Last week, I shared with you are love card and today, I will be showing you how to use die cuts on the inside of your card with a simple pop-up feature. 

   First off cut liner card base a 1/4" smaller than you card base. Here I did a folded 5 1/4"x 4" so it fits an A2 card. I wanted two pop-up features so I did 4 horizontal cuts along the fold, 2 cuts are about 1" and the other 2 are about 3/4". Then connect the matching cuts with a vertical scoreline.
   Push the two pop-ups in so it looks like this. Adhere cardstock liner to your card base. 
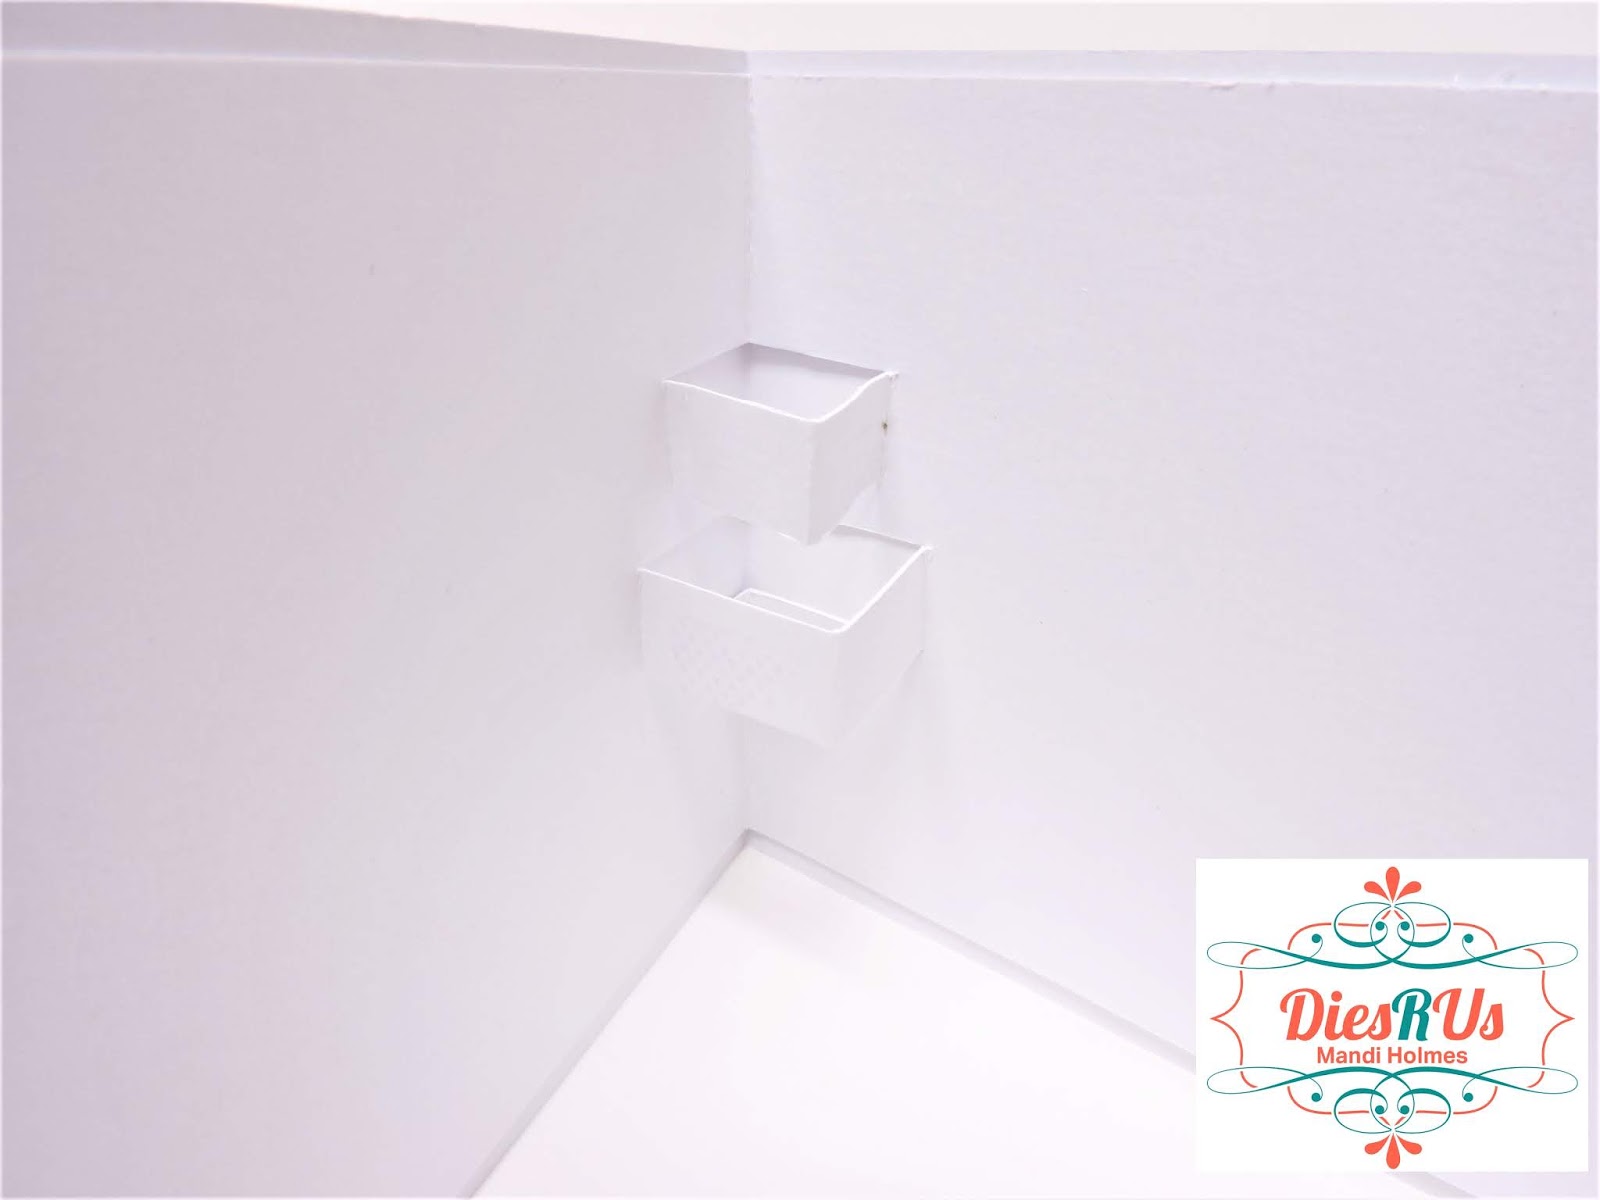
    When it comes to adding the die cuts, you want to adhere it to one side of the folded mechanism so the fold is free to move. I used the lovely butterfly dies from Jeanine's Art.  I had one die-cut on the right side of the top fold and the bottom fold it is on the left. To tie the front card design to the inside, I added some of the Tim Holtz Funky Floral die cuts from Sizzix to the writing area. Here is what the inside of the card looks like.
   Now let's look back to the outside. See how decorating the inside can make a handmade card look even more special. 


Don't forget to come to join in the fun at the Dies R Us Challenge Blog.  There's a new challenge theme offered on the 1st and 15th of each month and one lucky randomly drawn winner will receive a gift voucher prize to the Dies R Us Store.  For your convenience, all the important Dies R Us links are provided below.


Click below for:
FRIENDS OF DIES R US PINTEREST PAGE

Thanks for stopping by!


Monday, April 20, 2020

Stick It Down April Reveal

   How about a little card inspiration for today, featuring April's card sketch from Stick It Down. 

   I opted to change it up a bit by moving the sentiment strip. 
Supplies: cardstock (The Paper Studio), pattern paper (My Min's Eye), sequins (SpiegleMom Scraps), stamp and die (Stampendous), dye ink (Hero Arts)

   I did a cheat on this birthday card. I just received this stamp set from a giveaway and the packaging came with the great colored images of the elephant and leaves so I die cut it out.  


Here is a closer look. You know I couldn't resist adding some sequins. 

If you play along this month you have a chance to win $20 credit to Handipaper, they offer amazing cut files for electric die cutting machines. Also, one winner from each sketch to be a guest designer!

Friday, April 17, 2020

Love Card For Dies R Us

   Today I am up on the design blog for Dies R Us. I want to share with you how to create a pattern paper using die cuts. This is what the finished project looks like. 


   To get started I used the Funky Floral Him Holtz die from Sizzix. I love the large flower so I die cut it in two colors of cardstocks and I die cut the fringe flower centers kraft, those will be used later.   I adhere it to a cardstock panel that will go on a card front. 


   I trimmed any of the overhangs die cuts and adhere it to a card base that had pattern paper on it. To make the flowers pop I took a .08 pen and outline the die cuts. I then added a little metallic washi tape along the top. 

   Now onto the finishing touches. I added the fringe flower and yellow sequins for the centers. I top it off with the "love" die cut from Paper Smooches


Don't forget to come to join in the fun at the Dies R Us Challenge Blog.  There's a new challenge theme offered on the 1st and 15th of each month and one lucky randomly drawn winner will receive a gift voucher prize to the Dies R Us Store.  For your convenience, all the important Dies R Us links are provided below.


Click below for:
FRIENDS OF DIES R US PINTEREST PAGE

Thanks for stopping by!

Tuesday, April 7, 2020

Day 36

   Like so many around the world, my family and I have been under our own Stay Home orders but for us, we implemented it way before the government said so that is why it has been 36 days. 

   Last week, I took some of my so much free time and put to use the last of terracotta pots from my failed container gardening from 5+ years ago into creating this Waster bunny. Unlike all the previous ones that I created this will be for inside only.

   Here are some close-ups. Since it is for just indoors I did a lot of detail work. I love that large paper flower. It is from a peony wreath cut file from the Silhouette store. I used a lot of things that I had on hand to decorate, some things were 10+ years old.

   The large pom-pom that I used were created with the We R Memory Keepers pom-pom maker. I love that thing. 

   The buttons were from some old pajamas of mine that were 10+ years old. The lace was leftover material from a jean skirt that I made. 
   One thing about the stay at home order I was able to complete this 42" statue under a week.
 

Wednesday, April 1, 2020

New Deign Team - DRU

   I just wanted to announce that I am part of the DiesRUs Blog family. Starting this month you will see projects based on dies. Head on over to their site to see inspiration and the store for dies. 
Click below for:


Thanks for stopping by!

Stick It Down May Card


Wednesday, March 25, 2020

Fabulous - SID March Reveal

   Hello everyone, and welcome to my March card sketch reveal for Stick It Down blog. 
   I started by rotating the sketch. I made this card for my mom's birthday in May but wanted to do it with the March sketch so I had a birthday theme card for my birthday month. 
 Supplies: cardstock (Cardstock Warehouse and The Paper Studio), pattern paper (My Mind's Eye) die cuts (Studio G), stamp (Hero Arts), ink (Hero Arts and Altnew), manul dies (Crafter's Companion), dots(?), and stick (Studio Calico)

   One of my 2020 goals is to use up all my collections in my stash that have little pieces left. This card help with that goal. 
    I got this manual dies in the Crafter's Companion 2019 Advent calendar. I love them. 

This month's sponsor is the following: 
Jodi is the Owner/Designer at Corbett Creations Wood Veneers laser cutting business based in Brisbane. She found herself constantly frustrated that she couldn't find the perfect title or embellishment to finish off layouts, projects or gifts.  After spending far too long trying to create the perfect embellishment, she would sometimes rope her husband into helping with all his cool tools in the man shed!  He has a love for wood also and together they purchased their laser. Jodi loves to create in wood, chipboard, cardstock, paper and acrylic. With so many different mediums, the possibilities are endless!

Thanks for stopping by and check back often now since I have nothing but time on my hands to give this blog some love. 

Saturday, March 14, 2020

Simplicity Sewing

   For the past three days, I have been skipping shop work to create a blazer from lovely printed fabric that I found at Hobby Lobby. I used this pattern, hint follow the finish garment measurement size instead of body size because body measurements will make the blazer 3 sizes too big. 

   Since it has been 2+ years since I read a pattern I thought let's make it more challenging by following the directions on pattern A with the sleeves on pattern C. I also opted for no button since I figure I can always add one at a later day.

   Here is the finished result of those long hours and one sleepless night (I think I might have had a nightmare of the collar, LOL). The total cost of this was under $15. I can't wait to wear this out with a long gray T-shirt dress that I have. 


   I love the split sleeves. 

   Here is the back. It is a fitted blazer so there are princess seams. 

Wednesday, February 26, 2020

So Scary... Halloween

   It is snowy Feb. here in Michigan so I figure I needed to give this page a little TLC with a post. I am going to be sharing with you my take on Sketch~N~Scrap layout #194 sketch. 
   It might be hard to tell but I really did use this sketch for the bases of the layout.
Supplies: cardstock (Cardstock Warehouse), pattern paper (Echo Park Paper Co,), stickers (Echo Park Paper Co.), journaling cards (Becky Higgins), ink (Altnew and Close to My Heart), sequins (SpielgleMom Scraps), twine (Bella Creationz), doily (American Crafts), die-cut machine (Silhouette America) and washi tape (The Paper Studio and Scotch Brand Expressions)

   Here is a few closer looks. This is the first layout that I have ever did a large cut image. I am loving my new machine. 
   I had to get a photo of the outside since it was Halloween and it was SNOWING. 

    Like always I added journaling cards for layering and hiding mt journaling.