Showing posts with label deep red stamps. Show all posts

Monday, April 13, 2015

A Relaxing Lake Floater - SBC #435

   It is Monday morning and that means it is time for a Scrapbook Challenges latest sketch reveal #435
   
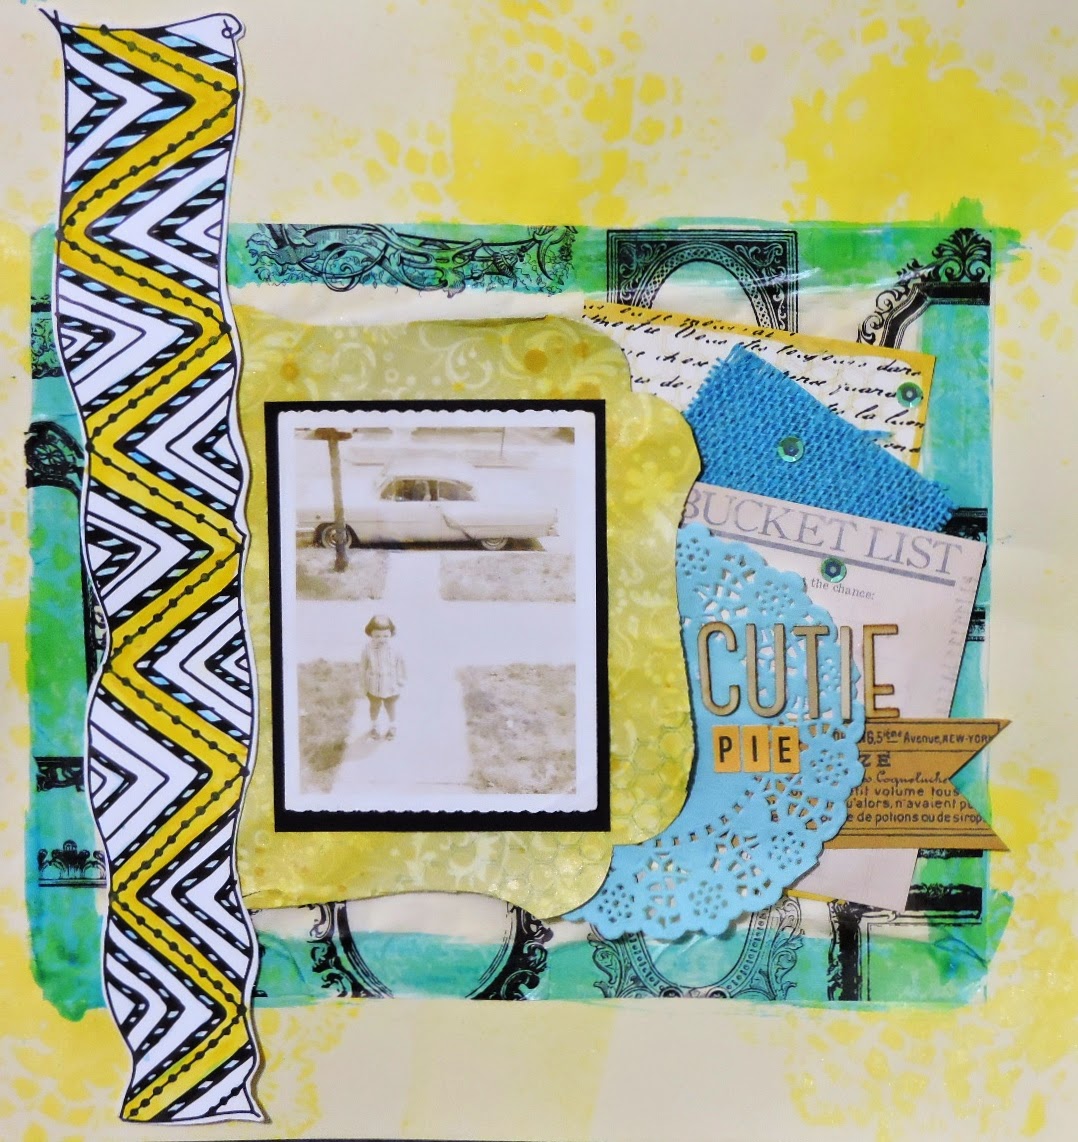
   For this page I changed the number of photos that were used in the sketch. Since my photos were bigger than 3" I just removed one of them.
 Supplies: cardstock (The Paper Studio), pattern paper (Crate Paper and American Crafts), washi tape (My Mind's Eye and Scotch Brand), chipboard (Bo Bunny), stickers (American Crafts, My Mind;s Eye and Simple Stories), twine (Timeless Twine), stitching templates (American Crafts). sequins (Hazel & Ruby), stamp (Deep Red Stamps), ink (Close to My Heart) and electronic die cutter, cartridge and software (Provo Craft) 

  Here is my favorite title technique. I love mixing fonts and textures in my titles. Here I have twine, foam and paper. 
    I added sequins to the front if each  journaling strip to create a bullet point. Plus, it adds a nice sparkle. I also added more of the twine stitching.

Tuesday, March 17, 2015

Sunny Yellows and Blues Color Challenge - CCB

   This week's color combo spotlight is something nice and sunny. It has blue and yellow tones. Perfect color combo because the first day of Spring is this week. 

Supplies for Canvas Corp. Brands:
Other supplies: 
Ink (Stampabilities and Close to My Heart)
Mask (Prima)
Punch (We R Memory Keepers)
Sequins (Hazel & Ruby)
Wood veneer alphabets (Studio Calico)
Stickers (October Afternoon)
Doily (Doodlebug Design)
Cardstock (American Crafts)
Stamp (Deep Red Stamps) 
   This time instead of posting each photo of the steps separate. I created a collage. Just click on the image to make it bigger. I just realized some of the photos are out of order. I am sure you will be able to figure the right order from the written steps. 

Step 1: Mist cardstock with the canary yellow. I didn't care to wipe the mask off when it got covered in between sprays. I like how it left yellow blotches to the paper.  
Step 2: Adhere tissue paper and paint edges with the stain glass. 
Step 3: I took the green swirl paper from the paper pad and changed the color of it with the mists and stamped a honeycomb design in blue ink. Let dry.
Step 4: Punch paper with shape punch and adhere.
Step 5: Cut out the Tattered Tangle. Color with mist and stain glass. Adhere
Step 6: Paint the edges of script paper with the the daffodil mist. Adhere.Tip: I just unscrewed the bottle and used the stem of the pump as a brush.
Step 7: Adhere a square of burlap, journaling card, tag that has been cut into a dovetail and doily.
Step 8: Adhere sequins. 
Step 9: Mat photo and adhere.
Step 10: Add title

Here is the finish result. My favorite thing about this was that I could alter all my items with the Tattered Angels paints and mists. This allows one to stretch their supplies but get totally unique project.