Monday I was in a mood to get a little messy. When that mood comes around it is time to break out a canvas. I am not sure if the secret to that mood is to only have three hours of sleep and work outside all day or maybe it was the fact I just bought 8x10 canvases. Whatever, the reason was I am happy with the outcome of one evening.
Supplies: pattern paper (Hazel & Ruby), washi tape (Hazel & Ruby), frame (Hazel & Ruby), masks (Hazel & Ruby), paint (Smooch), ink (Prima), stain (Tim Holtz) gelatos (Faber-Castell), trim (American Crafts), twine (Timeless Twine), ribbon (My Mind's Eye), sequins (Hobby Lobby and Hazel & Ruby) pen (American Crafts), electronic die cutter and cartridge (Provo Craft) and glue (Ranger and Elmers)
First, I want to say sorry I don't have pics of the steps on how to create this. Like I stated before, I did this at night so photos would have been a bad quality.
Directions:
1. I first mixed elmers white glue with some stain and adhere torn pieces of the floral paper to the canvas.
2. While it was still wet I adhere the collage tissue paper and washi tape.
3. Add the balloon mask and then just go to town with the gelatos and ink.
4. Lay the banner mask across the top and outline it and the balloons with a pen.
5. Remove masks and paint banner. Add stickers
6. Adhere sequins, frame, die cut and twine.
7. Where the frame covers the balloon draw the balloon on top of the frame. This allows the balloon shape to show once a photo in the frame.
8. Add Glossy Accents to the orange and green balloons. Only do it to those two because the other one is already shiny from the frame. Make sure you do this last because you don't want to smear the glue or drop anything into it. I am not speaking from experience. ;) LOL
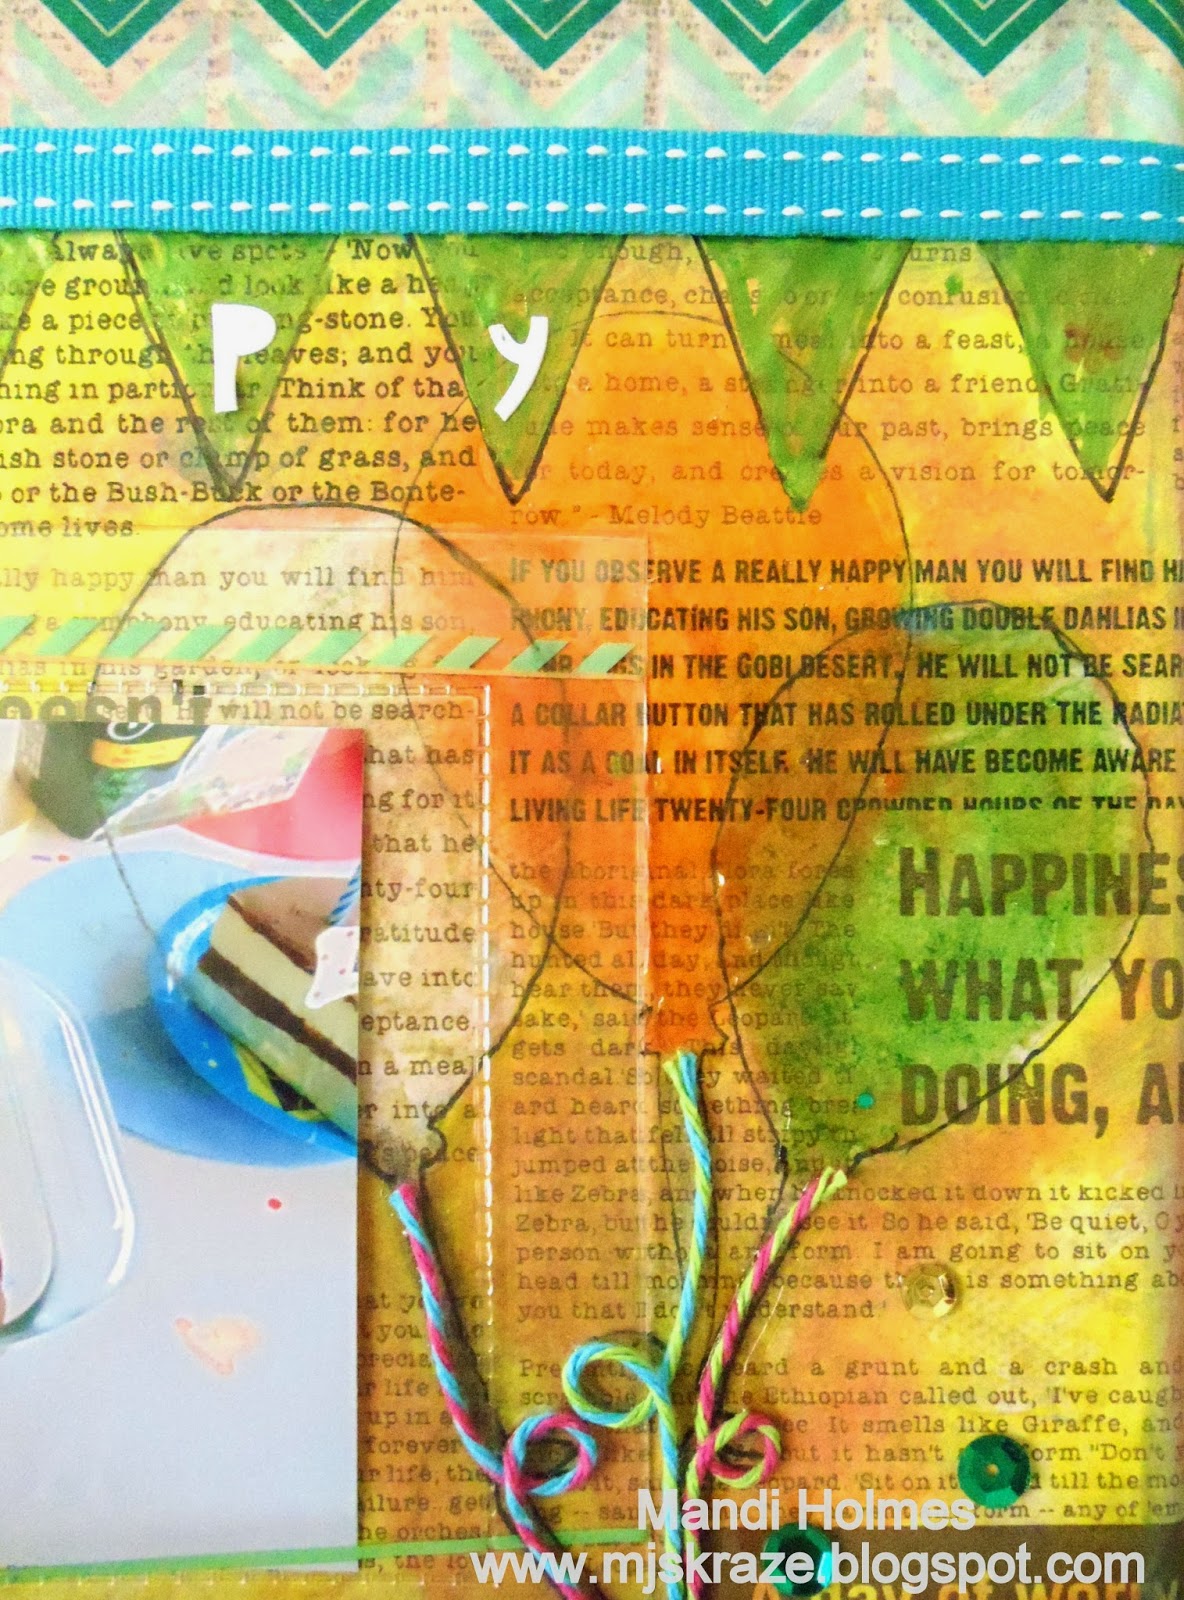
Here are some close-ups.
You can tell here that some of the floral paper peaks through the washi tape.

I thought this was a great birthday decoration because I can change the photo to whomever's special day it is. Just for photography purposes I stuck a brownie photo in the slot.
Here is what my studio looked like after this little canvas. I guess I just didn't get messy on the canva. :)


No comments:
Post a Comment